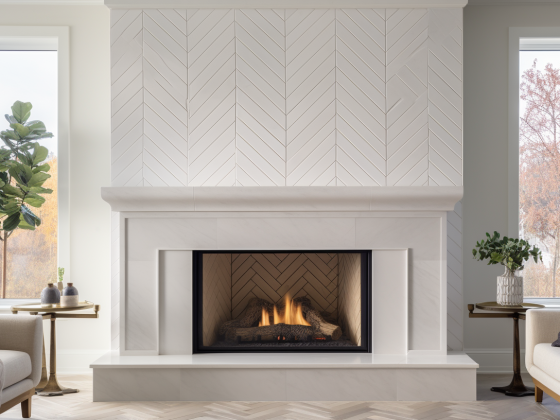
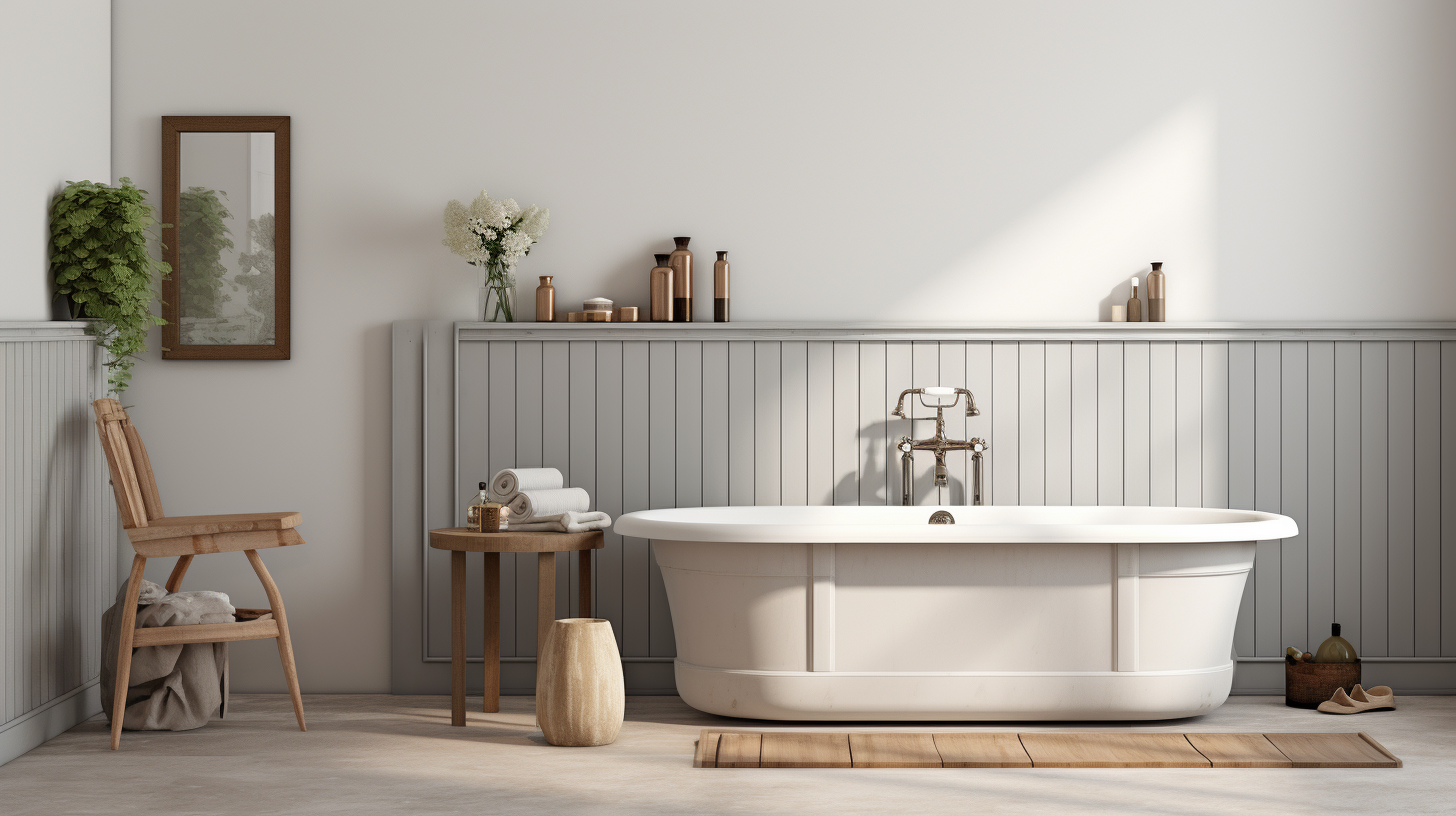
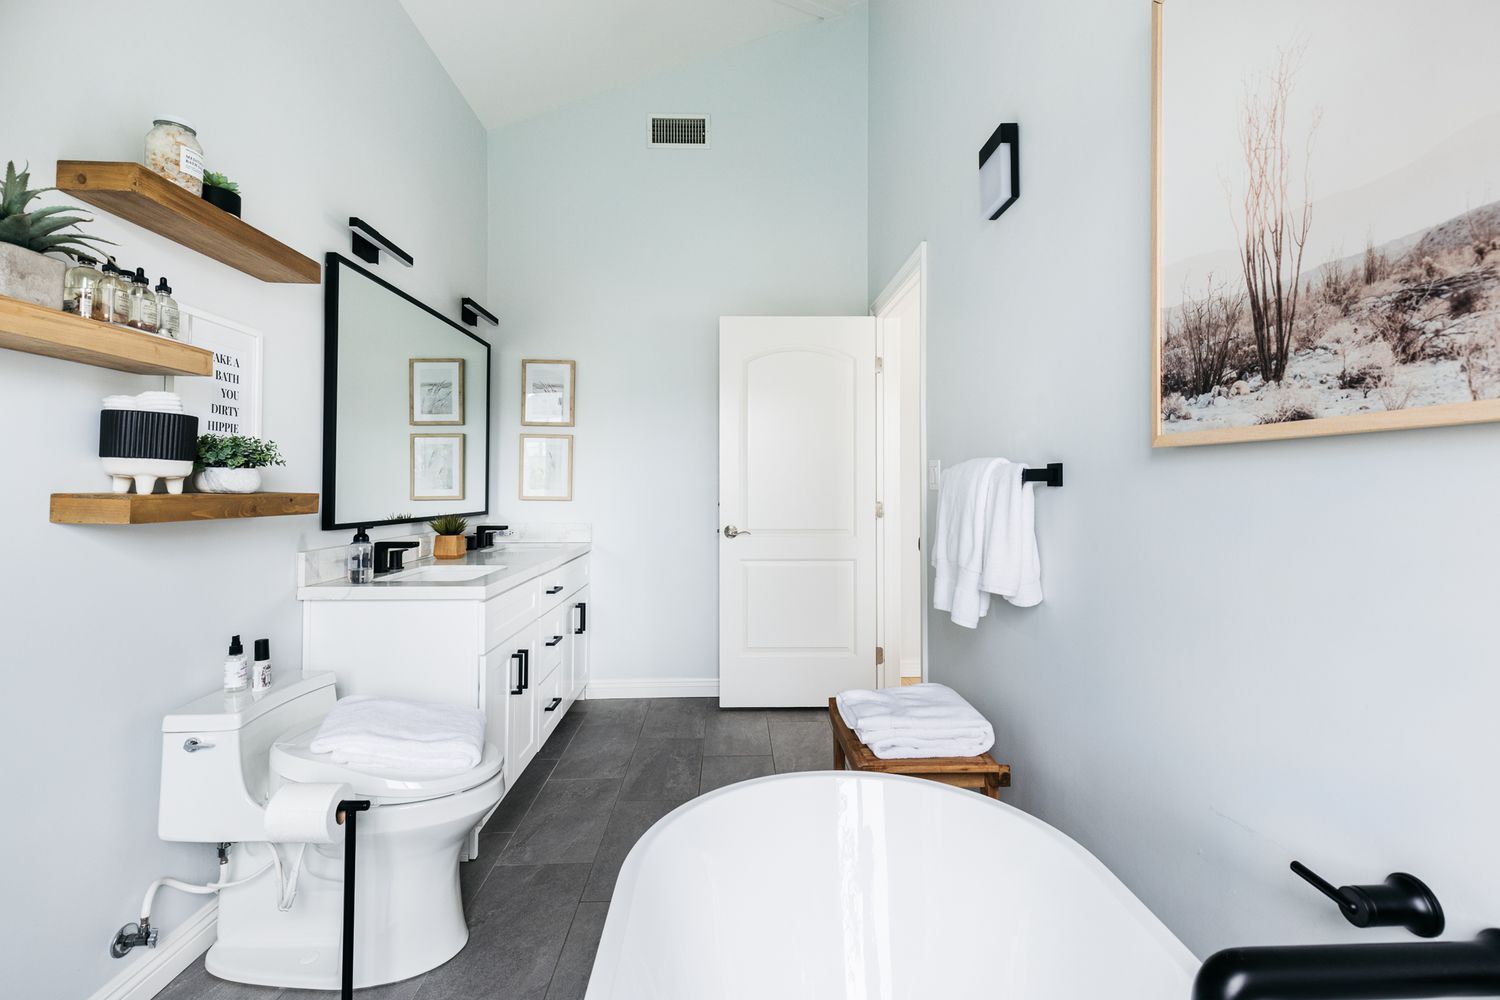
Beadboard paneling is currently in fashion! You will notice at least one beadboard wall in every home nowadays. However, when this beautiful interior design is added to bathrooms, the effects are far more eye-striking and lovely. It is a classic and adaptable way to bring charm and refinement to any bathroom.
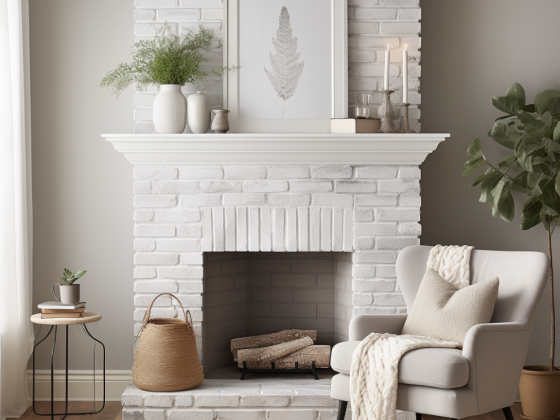
Are you planning to install a beadboard in your bathroom? Well, that is a great choice! Beadboards can change the style and feel of your bathroom. The best part about this interior design is that it is easy to install. Yes, you heard it right! Whether you are planning to revamp your bathroom or renovate it from scratch – beadboard paneling is something that you can do all by yourself i.e., without any professional assistance.
DIY paneling lets you personalize your room based on your unique style and preferences. Wondering where to begin from? Don’t you worry! This detailed guide will walk you through the beadboard paneling in your bathroom step by step. In short, you will get a professional-looking outcome without needing expert assistance. So, are you all set to embark on a rewarding DIY project? Let’s get started!
Step By Step Guide To Installing A Beadboard In Bathroom
Beadboard paneling will improve the bathroom’s aesthetics, and you can also enjoy it for years. Yes, this trend is here to stay for a decade at least! Careful planning, precise measurements, and correct tools are necessary to panel a beadboard in the bathroom. Here is a guide to installing beadboard paneling in a bathroom as a DIY project.
Step1: Gather Essential Tools and Materials
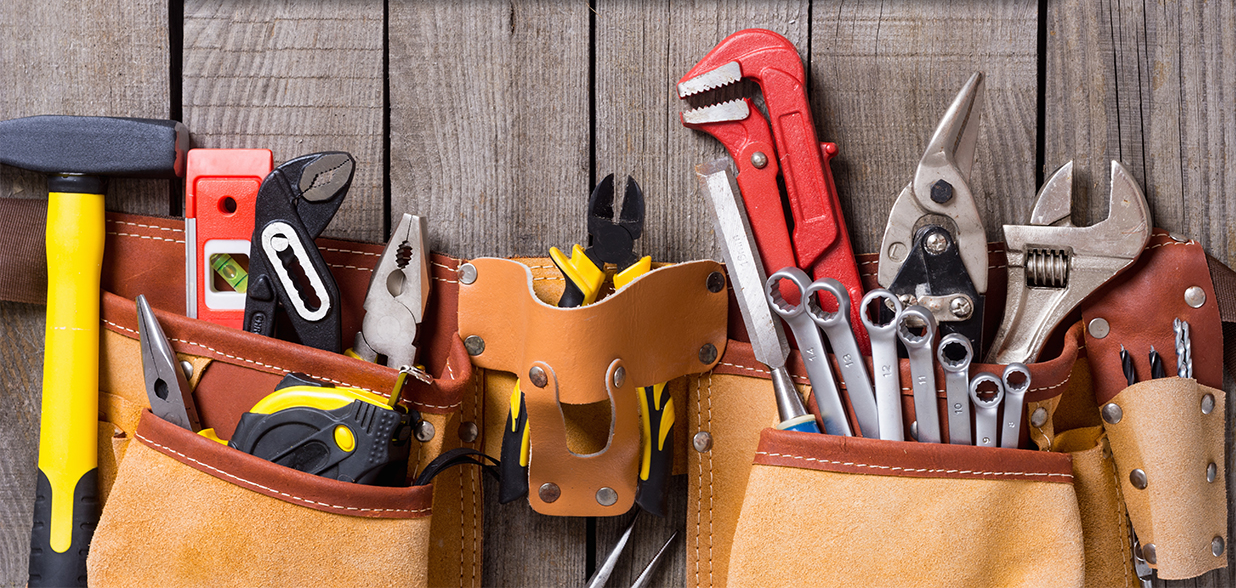
A beadboard is the most essential thing for beadboard paneling. However, that is not it! Several other things need to fix the beadboard panel at its place. Below is a list of required items
- Measuring tape
- Level
- Construction glue
- Stud finder
- Hammer
- Nail gun
- Finishing nails
- Sandpaper
- Primer
- Caulk and a caulk gun
- Paint (if needed)
It is necessary for you to gather these items first before you start the paneling process. Having all tools available ensures a quick and easy installation. Additionally, you don’t have to stop the work and keep searching for missing tools.
Step 2: Get the Bathroom Ready
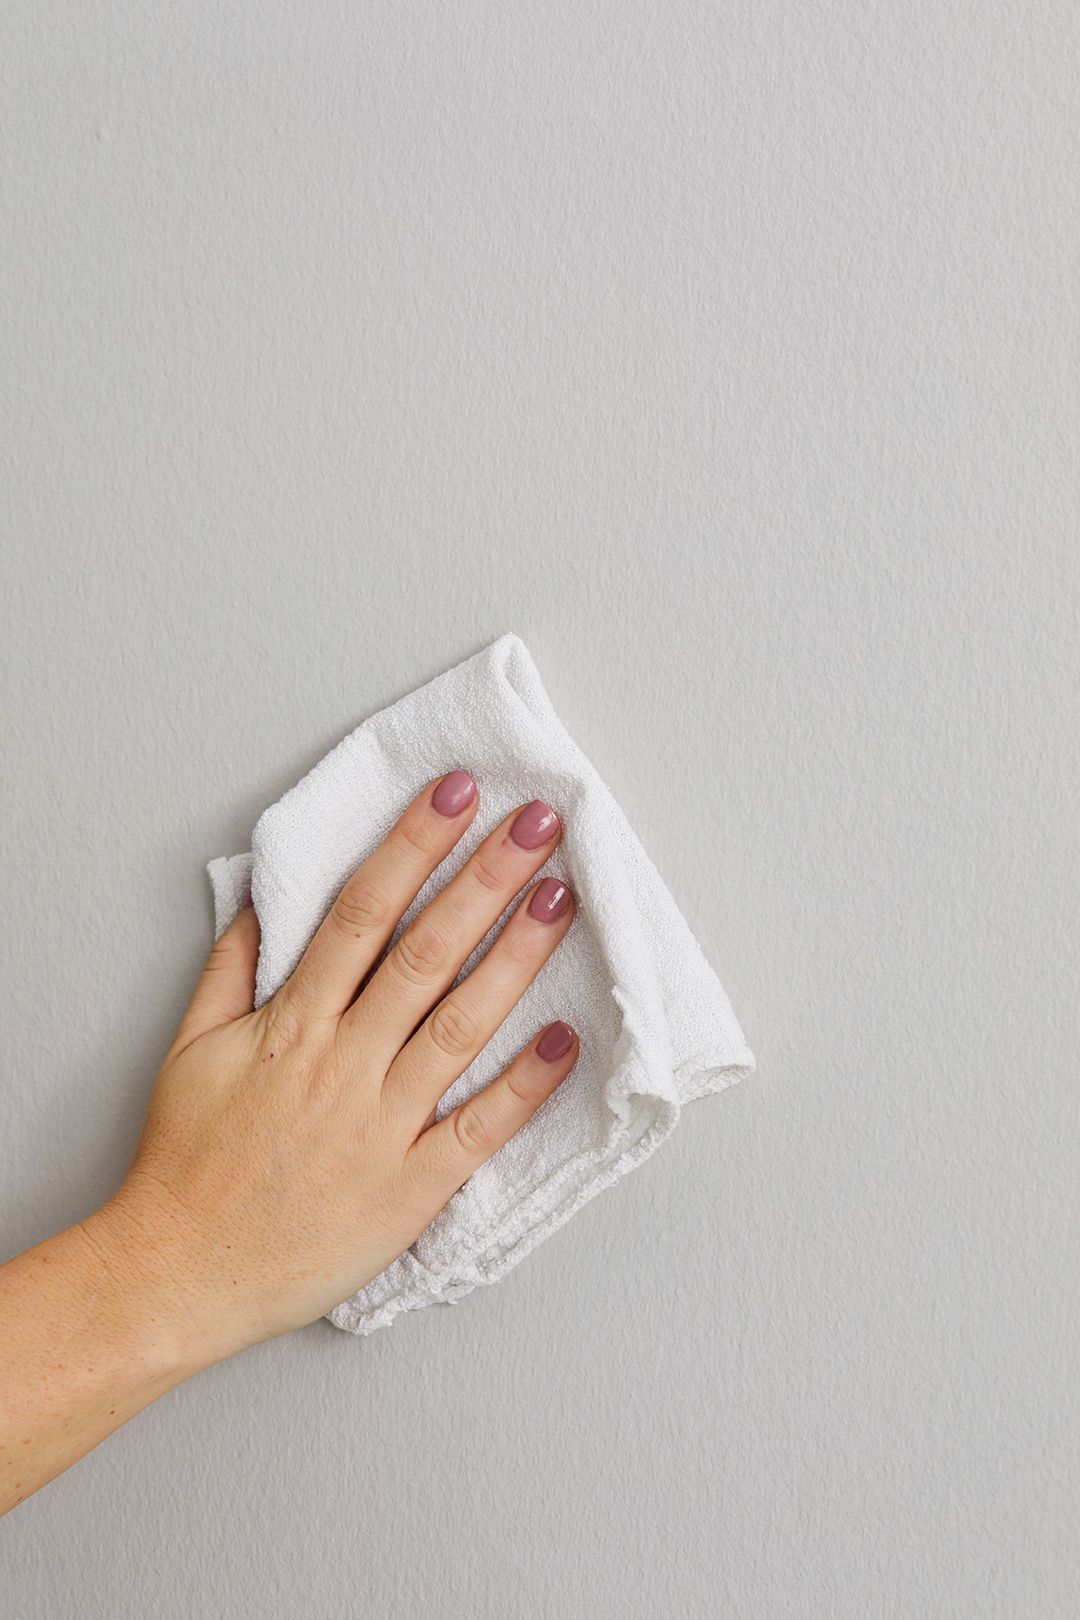
The most crucial thing is to dry your bathroom first. Now begin by removing any existing trim, baseboard, or wallpaper, if any. Remember, the walls should be completely clean and dry. It will serve as a blank slate for the beadboard installation. If you notice any holes or leakage on the walls, repair them as soon as possible. Fill up the holes using a wall mending agent or putty if needed.
Once this is done, level the walls using sandpaper. It will produce a smooth surface for the beadboard to cling. A well-prepared and flat surface is required for a successful beadboard installation.
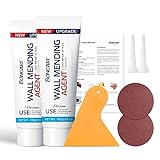
- The drywall repair kit includes 2x Wall mending agent (100g), 2x Nozzle Extender, 1x Scrapers, and 2x Sandpaper.
- This drywall patch repair kit Easily and quickly repair the damaged wall.Just gently squeeze out and use a spatula to smooth. spackle wall repair kit can be reused, Meet your various repair needs.
- The new upgrade wall patch repair kit is very safe, it does not contain formaldehyde. It is highly resistant to breakage, streak-free and waterproof.And the mending will be virtually invisible, then giving you professional-looking results.
- BONCART wall repair kit can solve all kinds of wall damage.Drywall cracks,wall stains,nail holes,wall peeling,wall stains,wall graffiti.Let your walls a new look.
- Best Service:Fast pre-sale and after-sale response, any questions about the product are welcome to contact us at any time.

- 12 Grits Assortment:120/150/180/240/320/400/600/800/1000/1500/2500/3000 Grit, each grit got 2 sheets
- Convenient size and easy to identify: all sandpapers are 9 x 3.6 inch, also can be cut into any size you need. Soft-backed sandpaper ensures good hand grip and can be used to polish objects smoothly with only moderate effort, with high resistance to slipping or loose during use. Grit specifications are printed on the back of the sanding papers for easy identification.
- Wet or dry sanding: waterproof and tensile resistant technology allows these abrasive paper sheets to be tough and last long on your projects, and can be used for both wet and dry purposes.
- Compatible with: this fine sandpaper is perfect for handling all kinds of odd jobs and small fasteners, from removing scuffs and abrasions on walls and baseboards to smoothing wood or mildew on toys or furniture, refinishing handrails or lawn furniture and even wet sanding stains from your vehicle
- Compatible with: perfect for handling all kinds of odd jobs and small fasteners, from removing scuffs and abrasions on walls and baseboards to smoothing wood spurs or mildew on toys or furniture, refinishing handrails or lawn furniture and even wet sanding stains from your vehicle. Doing this work can not only save money, but learn a valuable skill.
Step 3: Cut and Measure the Beadboard Panels
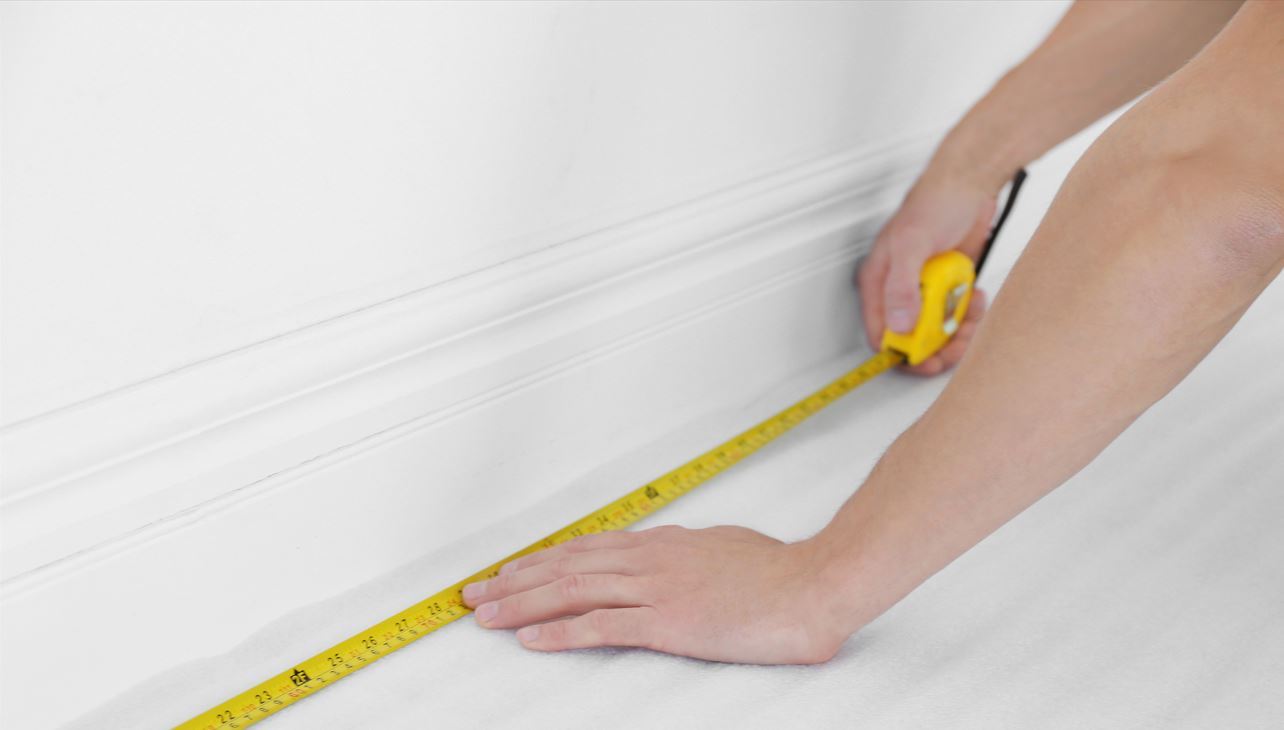
The measuring tape is going to be of utmost importance in this step. Determine the height and breadth of the walls where you intend to mount the beadboard paneling using a measuring tape. Accurate measurement is highly essential for a proper installation.
Mark the places that need to be cut on the beadboard panels using these measurements. Don’t forget to double-check the measurements before you proceed! Cut the panels to a proper size with a saw. Now sand the cut edges as necessary to achieve a smooth fit. Take this step really slow and carefully, as any wrong move can cause a colossal blunder.

- Tape measure with MID accuracy and both inch and metric scales; measures up to 16 feet (5 meters)
- Self-locking mechanism with push button release allows inner tape to be smoothly extended and retracted
- Heat-treated spring ensures long-lasting performance; anti-skid ABS and soft rubber exterior for impact protection
- Belt clip and comfortable wrist strap for convenient carrying and easy access
- Product measures 3.43 x 2.83 x 1.69 inches
Step 4: Locate and Label the Studs
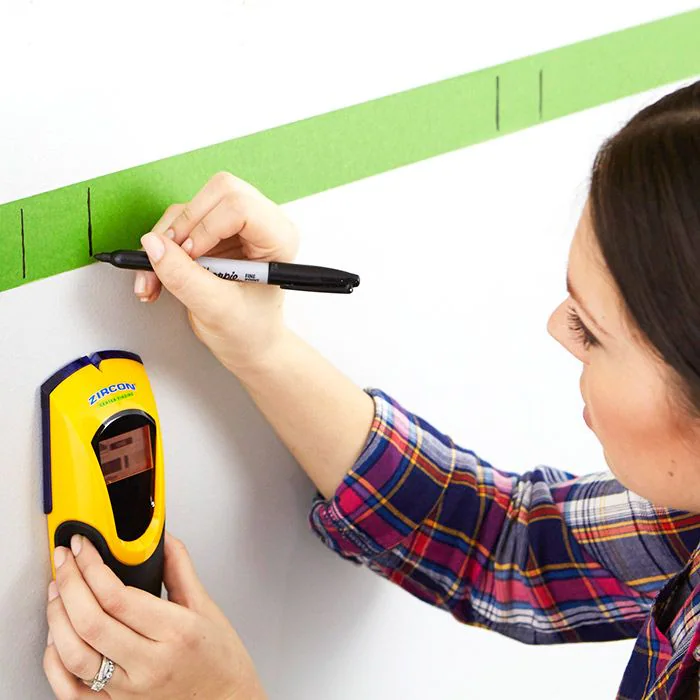
Studs ensure sturdy installation. Therefore, use a stud finder to locate the studs behind the walls. Once you have done this, use a pencil or masking tape to indicate their locations on the wall. It is critical to place these markings appropriately, considering the width of the beadboard panels. Stud marking shall enable you to fasten the beadboard to the wall.
Step 5: Use Construction Glue
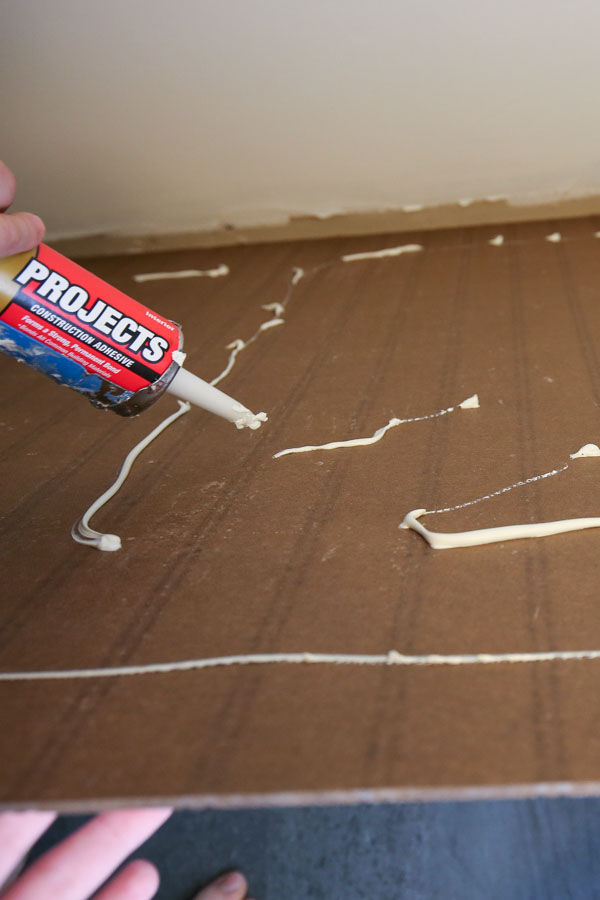
While studs may fasten the beadboard appropriately, the construction glue gives it proper fixing. Therefore, apply construction adhesive on the back of the first beadboard panel. Don’t forget the borders, as they are vital. Allow some glue to drain in case excess glue is on the panel.
Now, press the panel against the wall with care and attention. Match it with the designated stud placements. Use a levelerto guarantee that the panel is straight. Remember, tilted or mismatched beadboard will not look good! The construction glue will ensure a secure adhesion between the panel and the wall surface. However, this process can be time-consuming. You must let the glue harden before moving to the next step.
- OUR MOST DURABLE FORMULA: Higher Average Bond Strength Compared to Gorilla Heavy Duty Construction Adhesive on Popular Surfaces
- INSTANT GRAB: Easy to Dispense Paintable Formula Holds in 30 seconds
- WORKS UNDER WATER: Tough, Versatile & 100% Waterproof
- GAP FILLING: Flexible, Shrink Proof Formula
- BONDS: Wood, Drywall, Plaster, Ceramic, Concrete, Masonry, Foamboard, and More!
Step 6: Attach The Beadboard Panels
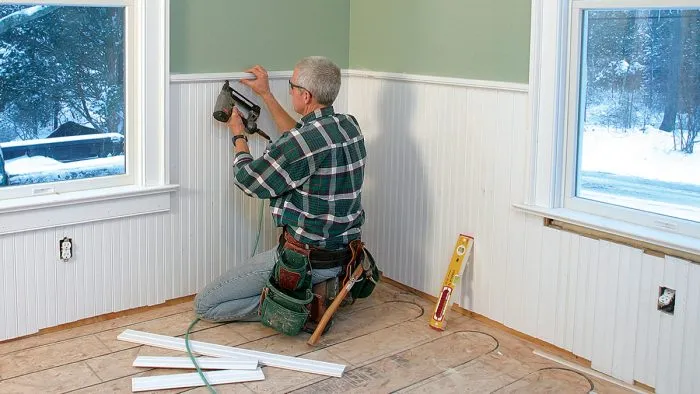
Now that your beadboard is fixed in the bathroom, it’s time to give it more sturdiness, strength, and stability. Fasten the panels to the walls using finishing nails. Nail the panel’s top and bottom borders first. If you think the middle part needs nailing, go for it too! However, align all the nails in one line so it doesn’t appear shabby.
Force the nails through the panel and into the studs using a hammer or nail gun. Avoid overdriving the nails to avoid damaging the paneling. Repeat this technique for each panel to ensure appropriate alignment and leveling.

- IMPORTANT: For max power and penetration into hard woods, use 3/4 in. or shorter nails and avoid using an extension cord longer than 15 ft.
- HEAVY DUTY BRAD NAILER: This electric brad nailer is a must-have for any projects that require brad nails, like trim, molding, framing, fencing, wood crafts, and more; It belongs in the toolbox of any builder or serious DIY-er
- TIPS FOR USE: For best performance, use two hands for better support & penetration; Prevent kick back by placing one hand on top of the nailer while the other hand presses the trigger; The soft comfort grip increases the ease of use for this nail gun
- GET THE POWER YOU NEED: Adjustable depth-control knob allows the operator to set the correct amount of power for every job, matching the size of the brad nail to the materials being fastened; Quick-release magazine makes reloading simple and efficient
- BUILT TO LAST: Includes carrying case for storage & portability; 6-foot power cord makes this easy to use in any workshop; Contact safety prevents accidental misfires; Works best with genuine Arrow brad nails: BN1810 5/8", BN1812 3/4", and BN1816 1"
Step 7: Finish and Trim
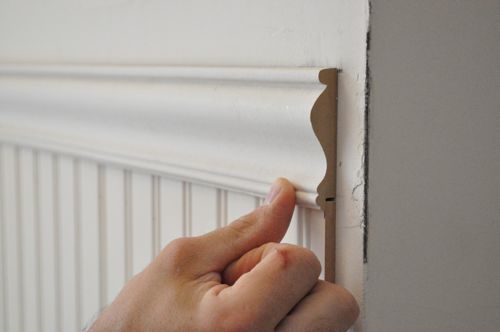
After fixing the beadboard in the bathroom, you may feel the paneling wall looks a bit empty. Don’t you worry – there is a solution for it as well! Trim the panel using a saw if necessary to suit the remaining space. This procedure ensures a clean and smooth installation. Also, trim the bottom edges of the beadboard panels to improve the look.
Trim should be measured and cut to size before being attached to the wall with finishing nails and construction glue.
Step 8: Smoothening and Painting the Surface

Remember, the beadboard should be smooth. Therefore, if you find any nail holes, fill them with a wood filler and sand the surface. You can now apply primer and paint the beadboard and trim in the color of your choice.
The correct paint may give your beadboard installation a professional appearance. Finally, apply caulk to cover any gaps between the panels or along the edges. A polished aspect will be the result of this step.
Step 9: Finishing Touches
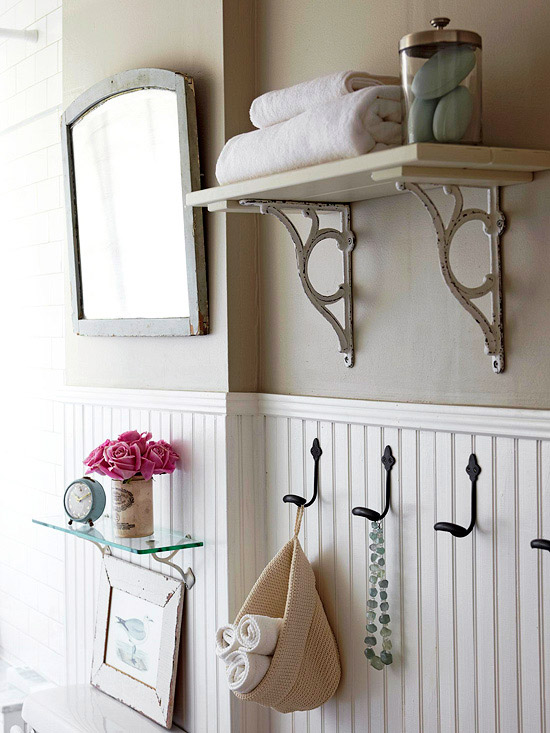
Take a step back and evaluate the finished product once the beadboard in the bathroom has been firmly installed. Also, have a look at the finishing touches that have been added. Make any required modifications or touch-ups to guarantee a faultless finish. Think about adding extra components like shelves or attractive hooks to improve the aesthetics of the room.
Your bathroom aesthetic appeal can be increased even more by including items that go well with the beadboard. Therefore, spend some time tidying the office while admiring the bathroom’s recent makeover.
Step 10: Cleaning And Maintaining
The DIY project of installing a beadboard in the bathroom does not end by just adding a finishing touch. There is a lot of cleaning to be done! It is likely for a beadboard to get stains and marks while doing the installation process. Therefore, use a soft cloth or sponge for a dry cleaning treatment. You can also use a light soap or solution to clean the beadboard paneling.
Avoid using scrub brushes or other abrasive cleaners that could scratch the surface. It can be kept looking good with routine dusting and wet cloth cleaning. Additionally, ensure the bathroom is well aired to avoid excessive moisture buildup that might shorten the lifespan of the beadboard.
Final Thoughts
Bathroom paneling made of beadboard is a satisfying DIY project that can improve the overall appearance of the room. All you have to do is – adhere to this step-by-step manual. Rest your knowledge and abilities will go hand in hand to complete this installation effectively.
But before you begin, make sure to gather all the essential equipment first. Some tools mentioned above may not be useful to you – still, keep them at hand so that you don’t delay the beadboard paneling process.
Beadboard gives any bathroom a bit of elegance and character, whether you are going for a conventional or modern style. Take pleasure in the process and take great delight in designing a gorgeous bathroom that showcases your sense of style and attention to detail.
Frequently Asked Questions
Can Beadboard Paneling Be Put up Over Already-Installed Tile In The Bathroom?
You can mount the beadboard over the existing tile in the bathroom. Before installation, it is crucial to ensure the tile is clean and in good shape. You might need to apply a bonding primer or glue made specially for tiles to achieve appropriate adherence.
Can Beadboard Paneling Be Installed in a Humid Bathroom?
Yes, bathrooms with high humidity can use beadboard paneling. It is essential to use a moisture-resistant beadboard material such as PVC or moisture-resistant MDF to avoid damage or warping. Carefully caulk the corners and crevices to stop moisture from leaking behind the paneling.
Is There a Need to Remove the Toilet, Sink, and Other Bathroom Fixtures Before Installing Beadboard?
Typically, installing beadboard paneling doesn’t require removing bathroom fittings. To fit the panels around the fitting, you can simply cut them, allowing a tiny space for expansion and contraction. However, if you wish to replace existing fixtures, then you can remove them before beadboard paneling.