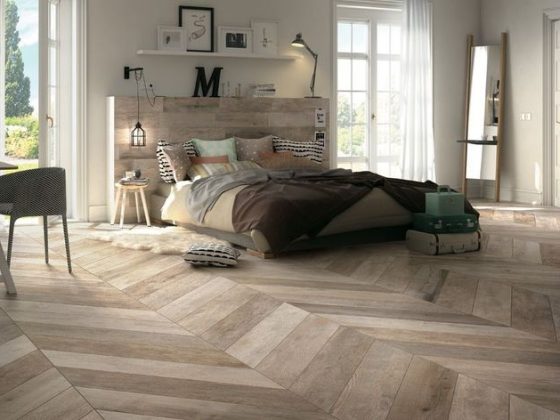
Painting wood floors can completely change the appearance of your room while still being reasonably priced. To achieve adequate adhesion and smooth finishing, sanding the wood surface had traditionally been a required stage in the procedure.
Sanding, however, may be laborious and filthy and call for a specialized tool. The good news is that there are other options for painting wood floors that don’t involve sanding.
In this comprehensive guide, we will explore numerous strategies and supply clear step-by-step instructions, total support, and guidelines so you can obtain beautiful outcomes.
Hardwood floor portico with no need to sand can be an uncomplicated and potent approach to transforming outmoded floors or revamping the appearance of an area. Ready to kick off a gratifying Do It Yourself labor that will restore your surfaces and enhance the air of the entire house?
1. Preparing the Wood Surface
Cleaning the Floor
It is crucial to properly clean the surface of your wood floors to get rid of any filth, dust, and debris before painting. Sweeping the floor first can help you to remove any loose dirt and debris from your floor. You can use a damp cloth or mop to clean the surface by using a wood floor cleaner or light detergent. You must make sure that the floor is dry to start the next step.
Repairing Gaps and Fissures
Now, you can look for any cracks or gaps in the wood floor and patch them. Use wood putty or filler for tiny cracks. You can use a putty knife to apply the filler and smooth it out so that it blends in with the surface of the adjacent wood. Before continuing, let the filler thoroughly dry as directed by the manufacturer.
Repair Damaged Areas
You might need to repair any wood floor damage before painting, such as deep scratches or gouges. Use fine-grit sandpaper to smooth the damaged area by sanding a little. After cleaning the area, fill the damaged area with wood filler or epoxy glue. Sand the filler lightly once dried to create a smooth and leveled surface.
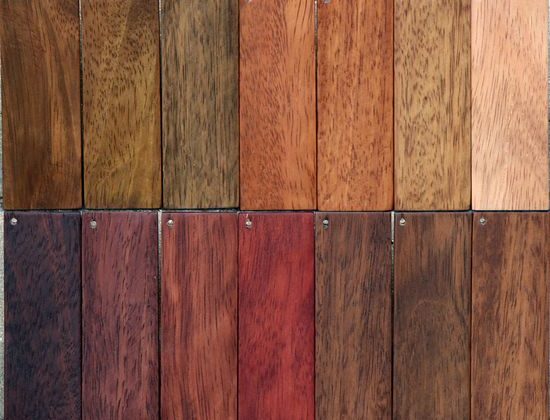
2. Choosing the Right Paint and Primer
Selecting a Type of Paint
When adding color to wood floors, it is essential to use specialty paint made expressly for painting hardwood floors paint. Look for a durable floor coating that can endure foot activity and withstand scuffing. Floor paints with an oil or water base are popular choices. When choosing the paint, consider elements like color, shine, and the overall look you want.
Taking Finish and Durability Into Account
Choose hardwood floor paint with tough finishes that resist daily wear and tear. For wood floors, satin or semi-gloss treatments are frequently suggested because they compromise sturdiness and aesthetic appeal. Remember that matte surfaces may not be as scuffs and stained as other finishes.
Understanding Primers and Their Benefits
Before painting wood floors, it is strongly advised to use a primer since it enhances adhesion and helps the paint adhere to the surface better. Find a bonding hardwood floor paint primer that is intended primarily for use on wood floors. A primer also helps seal the wood and stop stains and tannin bleed-through. When choosing a compatible primer, you must consider the type of paint you are using.
3. Properly Preparing the Wood Floor
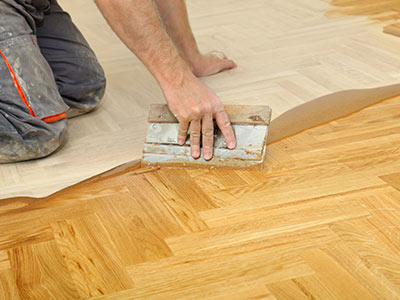
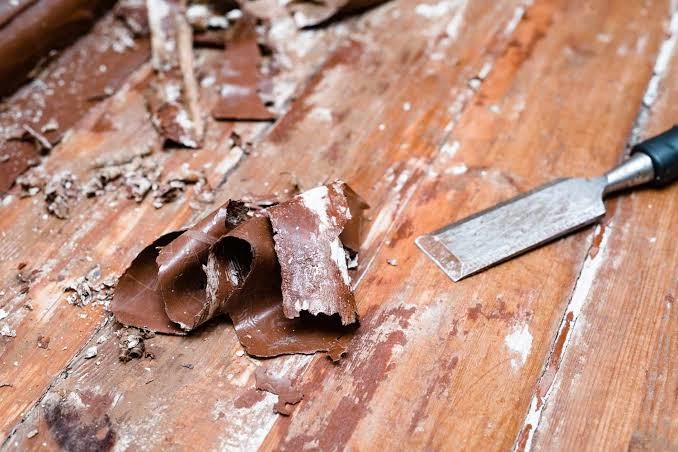
Removing the Existing Finish Removing any remaining finish from the wood floor before painting is very important. You can accomplish this by lightly sanding the floor or using a chemical hardwood floor paint remover. You can follow the manufacturer’s recommendations when using the paint remover and wear safety gear such as gloves and masks. If sanding, then use an orbital sander or fine-grit sandpaper to provide a smooth surface without entirely removing the top layer of the wood.
- POWERFUL NO DRIP SPRAY GEL - Effectively tackles paint spills, overspray, graffiti, markers, gum, glues, adhesives, tape residue, decals, sap, and more.
- FAST ACTING WITHOUT CAUSTIC CHEMICALS -- This paint spot remover is completely free of caustic chemicals like methylene chloride and NMP, making it easy to use: simply apply to the surface, check every 15 minutes until ready, and remove with a scraper.
- MULTI-PURPOSE USAGE - Versatile for use on a variety of surfaces including metal, brick, concrete, tile, glass, stone, wood, masonry, plaster, and fiberglass. Ensures a straightforward and effective application process. It makes it easy to remove spray paint from concrete!
- NO HARSH FUMES OR UNPLEASANT ODORS - Ideal for use in confined or small spaces, our marker remover for walls ensures a pleasant cleanup experience without the harsh fumes or odors typically associated with paint strippers.
- DIY & PROFESSIONAL USE - Powerful enough for professional painters and contractors but is also user-friendly for DIY home improvement projects. This makes it an ideal choice for a wide range of users.
Sanding Down the Outside
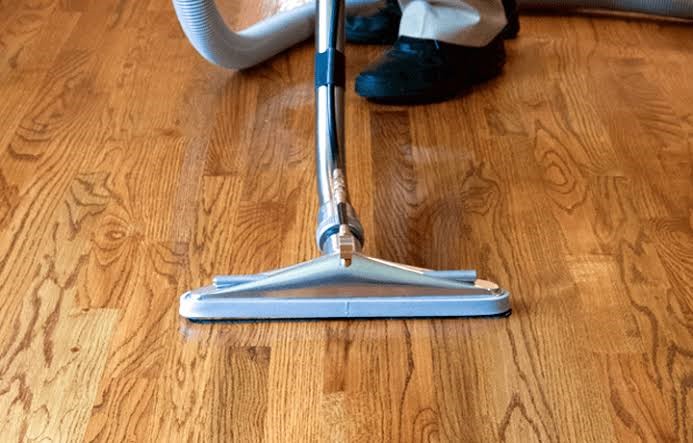
Ensure the wood floor is smooth and clear of any rough places once the finish has been removed. Lightly sand the floor using fine-grit sandpaper to level out the surface and lay a solid foundation for the paint. Make sure to Hoover or wipe away any sanding dust.
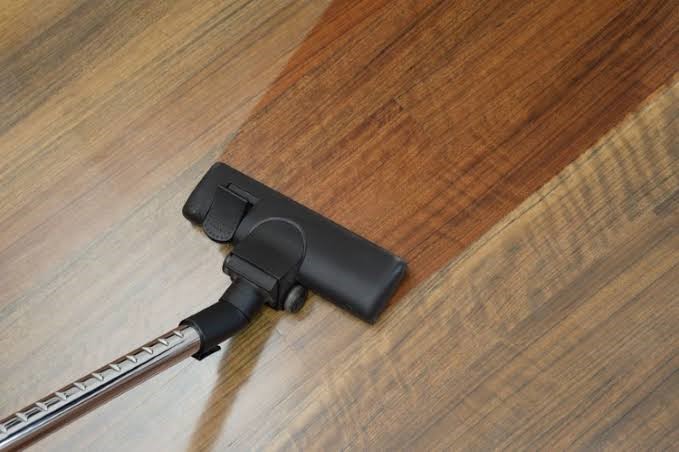
Cleaning and Vacuuming
Re-clean the floor thoroughly to remove any lingering dust or debris before painting or priming it. To ensure the floor is immaculate, hoover it or brush it with a soft bristle. To remove any leftover particles, you must also use a moist or tack cloth to wipe the surface.
4. Using an Adhesive Primer
The Necessity of Bonding Primer
Using a bonding primer is an essential step in painting wood floors without sanding. The primer improves the endurance of the finished product by assisting the paint in adequately adhering to the wood surface. Additionally, it stops the wood’s natural oils from detracting from the appearance and adhesion of the paint.
Tools and Materials Needed
To apply the bonding hardwood floor paint primer, gather the necessary tools and materials: a high-quality bonding primer, a paintbrush or roller, a paint tray, and painter’s tape to protect baseboards or other areas you don’t want to paint.
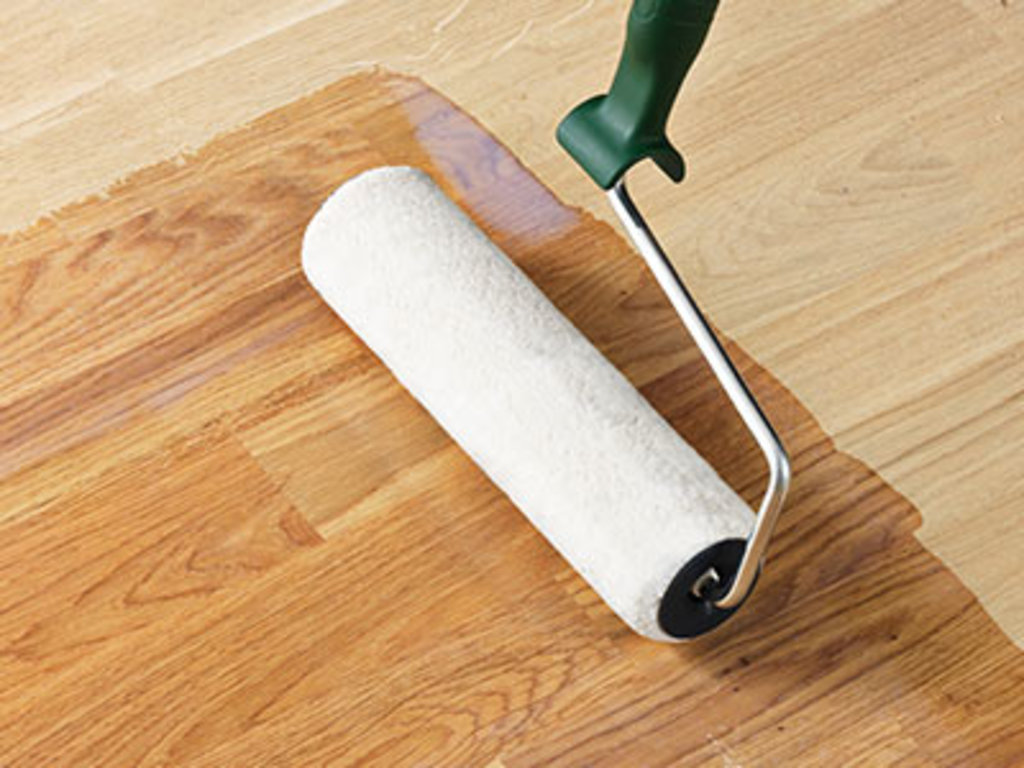
Step-By-Step Application Process
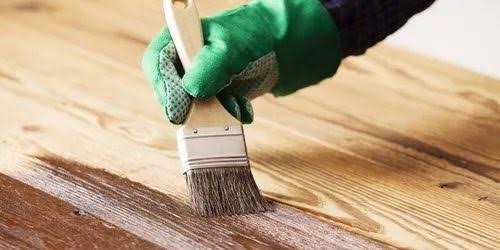
Apply the bonding hardwood floor paint primer along the edge of the floor and cut in the room’s edges with a brush first. After that, load a roller with primer by pouring the primer into a paint tray. Working on tiny portions of the wood floor at a time, start rolling the primer on. Follow the wood grain by applying a thin, equal coat. As directed by the manufacturer, let the primer dry thoroughly.
5. Choosing the Right Paint Application Method
Brushing vs. Rolling vs. Spraying
Paint can be applied on wood floors, including brushing, rolling, and spraying. When selecting the best application approach, consider the project’s size, your level of experience, and the desired finish. Each method has its own advantages and disadvantages.
Benefits and Drawbacks of Each Approach
Although brushing can be time-consuming for larger areas, it offers superior control and precision, especially around edges and corners. Rolling quickly covers more extensive surfaces but could leave a light texture behind. While spraying offers even flawless finish, it also requires additional expertise and specialized tools.
Selecting the Best Approach for Your Project
Combining rolling and brushing is frequently the best method for most DIY jobs. Apply hardwood floor paint to smaller areas using a brush to cut around edges and corners. After that, roll out more extensive areas with a roller. With this combination, you can ensure smooth finishing and adequate coverage of the paint.
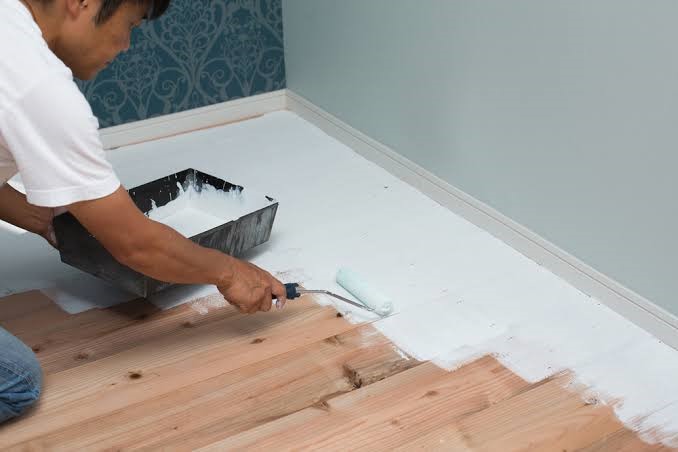
6. Applying the Paint
Proper Paint Mixing and Thinning
Ensure the hardwood floor paint is thoroughly mixed per the manufacturer’s directions before applying it. Thin the paint if necessary to get the right consistency. Because different kinds and types of paint may call for different ratios, adhere to the manufacturer’s instructions for thinning.
Start with a Primer Coat
Start painting the wood floor when the bonding primer has dried. Apply the primer coat using the methods and resources described in the earlier sections. Following the directions provided by the paint manufacturers, apply a thin, even coat and allow it to dry.
Applying Subsequent Paint Coats
After allowing the initial layer of paint to dry, further coats of wood floor paint can be added with the same technique. The number of applications that are necessary may vary depending on the product and how opaque you would like to make the coating look. It typically takes 2-3 layers. Before applying the next layer, let the previous one completely dry. Remember to carefully sand with fine-grit sandpaper in between coats to guarantee a smooth surface.
7. Ensuring Proper Drying and Curing
Drying Time Between Coats
It’s essential to give each coat of paint enough time to cure to establish a strong connection and avoid problems like peeling and splitting. For recommended drying times, follow the directions provided by the paint manufacturer. A decent thumb rule is 24 hours. However, this can change depending on the type of paint, humidity level, and the outside temperature.
Allowing Adequate Curing Time
While the paint may feel dry to the touch after a day or two, it’s crucial to remember that it may take much longer to cure and solidify fully. Once thoroughly dried, the painted floor should only be placed under heavy furniture or subjected to heavy traffic, which could take a few weeks or perhaps a month.
Creating a Curing Environment
Create an optimal environment to facilitate the curing process for the painted wood floor. Maintain moderate temperature and humidity levels in the room, as extreme conditions can negatively affect the paint’s durability and curing process. Proper ventilation is also essential to allow any residual fumes to dissipate.
8. Adding a Protective Finish
The Importance of a Protective Coating
Applying a protective finish is highly recommended to enhance the durability and longevity of your painted wood floors. A protective coating protects against scratches, scuffs, and general wear and tear.
Choosing the Appropriate Finish
Various types of finishes are available, such as polyurethane, varnish, or wax. Consider factors like desired sheen, ease of maintenance, and the level of protection required when selecting the appropriate finish. Water-based polyurethane is often favored as it dries quickly, has a low odor, and provides good durability.
Application Techniques for a Protective Coat
Follow the manufacturer’s instructions for the chosen protective finish. Typically, you will need a brush or roller to apply the protective coat. Start by cutting in around the edges with a brush, then apply the finish to the larger floor areas with a roller. Apply thin and even coats, allowing adequate drying time between each coat.
9. Tips to Maintain and Care the Wooden Flooring
Cleaning Painted Wood Floors
Regularly sweep or vacuum to remove the dirt and debris to keep your painted wood floors looking their best. Clean spills promptly to prevent staining. Use a damp mop or cloth with a mild wood floor cleaner to gently clean the surface. Avoid using harsh chemicals or abrasive cleaning tools that can damage the paint.
Preventing Scratches and Damage
The place felt pads or furniture glides under the legs of furniture to prevent scratches when moving or rearranging items. Use rugs or mats in high-traffic areas or near doors to protect the painted surface. Trim the pet’s nails regularly to avoid scratches.
Touching up And Refreshing the Paint
Over time, painted wood floors may experience wear and tear. To maintain their appearance, inspect the floor for any areas needing touch-ups. Sand the damaged area lightly, clean it thoroughly, and apply a fresh coat of paint following the same techniques.
Conclusion
Painting wood floors without sanding is a viable option to refresh your space while avoiding a labor-intensive sanding process. By properly preparing the wood surface, choosing the right paint and primer, applying the paint carefully, and allowing sufficient drying and curing time, you can achieve a beautifully painted wood floor that withstands daily wear and tear.
Remember to follow maintenance and care tips to preserve the appearance and longevity of your painted wood floors. With the techniques and knowledge shared in this comprehensive guide, you can transform your space and enjoy the beauty of your painted wood floor for years to come.
Frequently Asked Questions
Can I Paint Wood Floors without Sanding?
There are alternatives to sanding that can be utilized to create a surface that is smooth and adequately prepared for painting. You can produce a good surface for painting without the need for sanding by properly cleaning the floor, filling any gaps and cracks, and repairing any damage.
Will the Paint Adhere Properly to The Wood Surface without Sanding?
For optimal paint adherence, the surface must be prepared properly. While sanding aids in creating a roughened surface for better paint grip, other techniques like thorough cleaning, fixing fractures, and repairing the damage can also give a suitable surface or smooth surface.
Are They Any Disadvantages to Painting Wood Floors without Sanding?
Painting wood floors without sanding can be a time-saving alternative, but there are a few considerations to keep in mind. Without sanding, you may not be able to remove deep stains or imperfections completely, which could affect the overall appearance of the painted floor.