
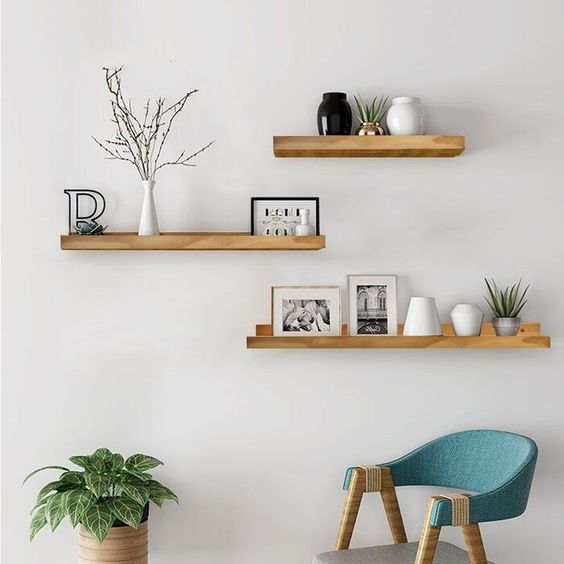
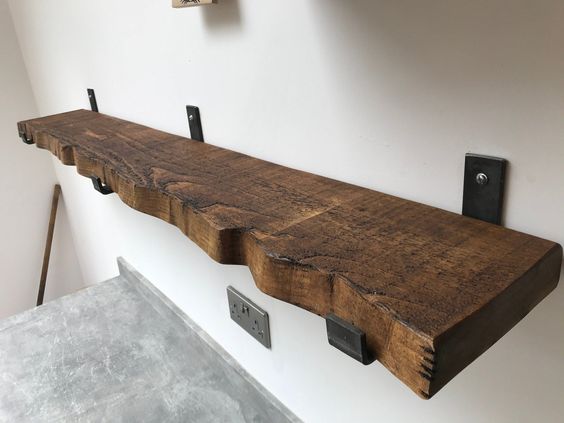
Live edge shelving has become the trending pocket-friendly remodeling for every home. DIY projects with hardwood live edge shelves are not only easy to make. They are an economically friendly option when compared to the traditional shelves and cabinets, and additionally, they are with more natural trending designs.
Live edge shelves have the rustic look of natural wood, which displays the grains and rich color of the wood. The irregular live edges and their shape give a bare beauty and unique traits to your shelves. This is a captivating visual treat with a blend of nature’s refined craftsmanship.
It is understood that while you pick the live edge floating shelves, you are picking the timeless art piece for your house, not just shelves to hold your storage items. So, before getting started with your DIY live edge floating shelves, let’s briefly visit the details of the materials and using methods!
Floating Shelves

Floating shelves are a combination of modern and functional solutions as a stylish option for any type of room. The advantages of these designs have made them increasingly popular in DIY decorative projects. These are the shelves directly mounted to the wall with invisible brackets, which gives the floating appearance. The advantages of using the floating shelves are,
- They are easy to do yourself (the DIY project), as they don’t need any modifications to be done to the wall. It can be supported with proper mounting techniques.
- As it gives a sleek and modern look, they are more popular in contemporary and Scandinavian design styles.
- For a small room or room with limited floor space, it is the best option as there won’t be any visible clamps and extensions. This will only occupy less physical space with a more aesthetic look.
- Any room can be designed with these shelves to fit any type of object.
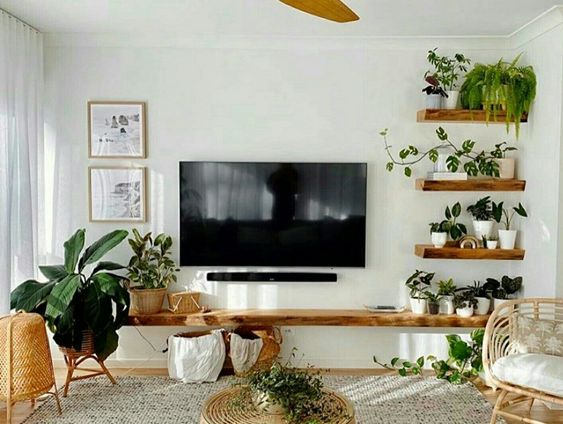
- These could make a better focal point in your living room where you can display any decorative piece of art to enhance the overall aesthetics of your living room.
Live Edge Wood Shelves

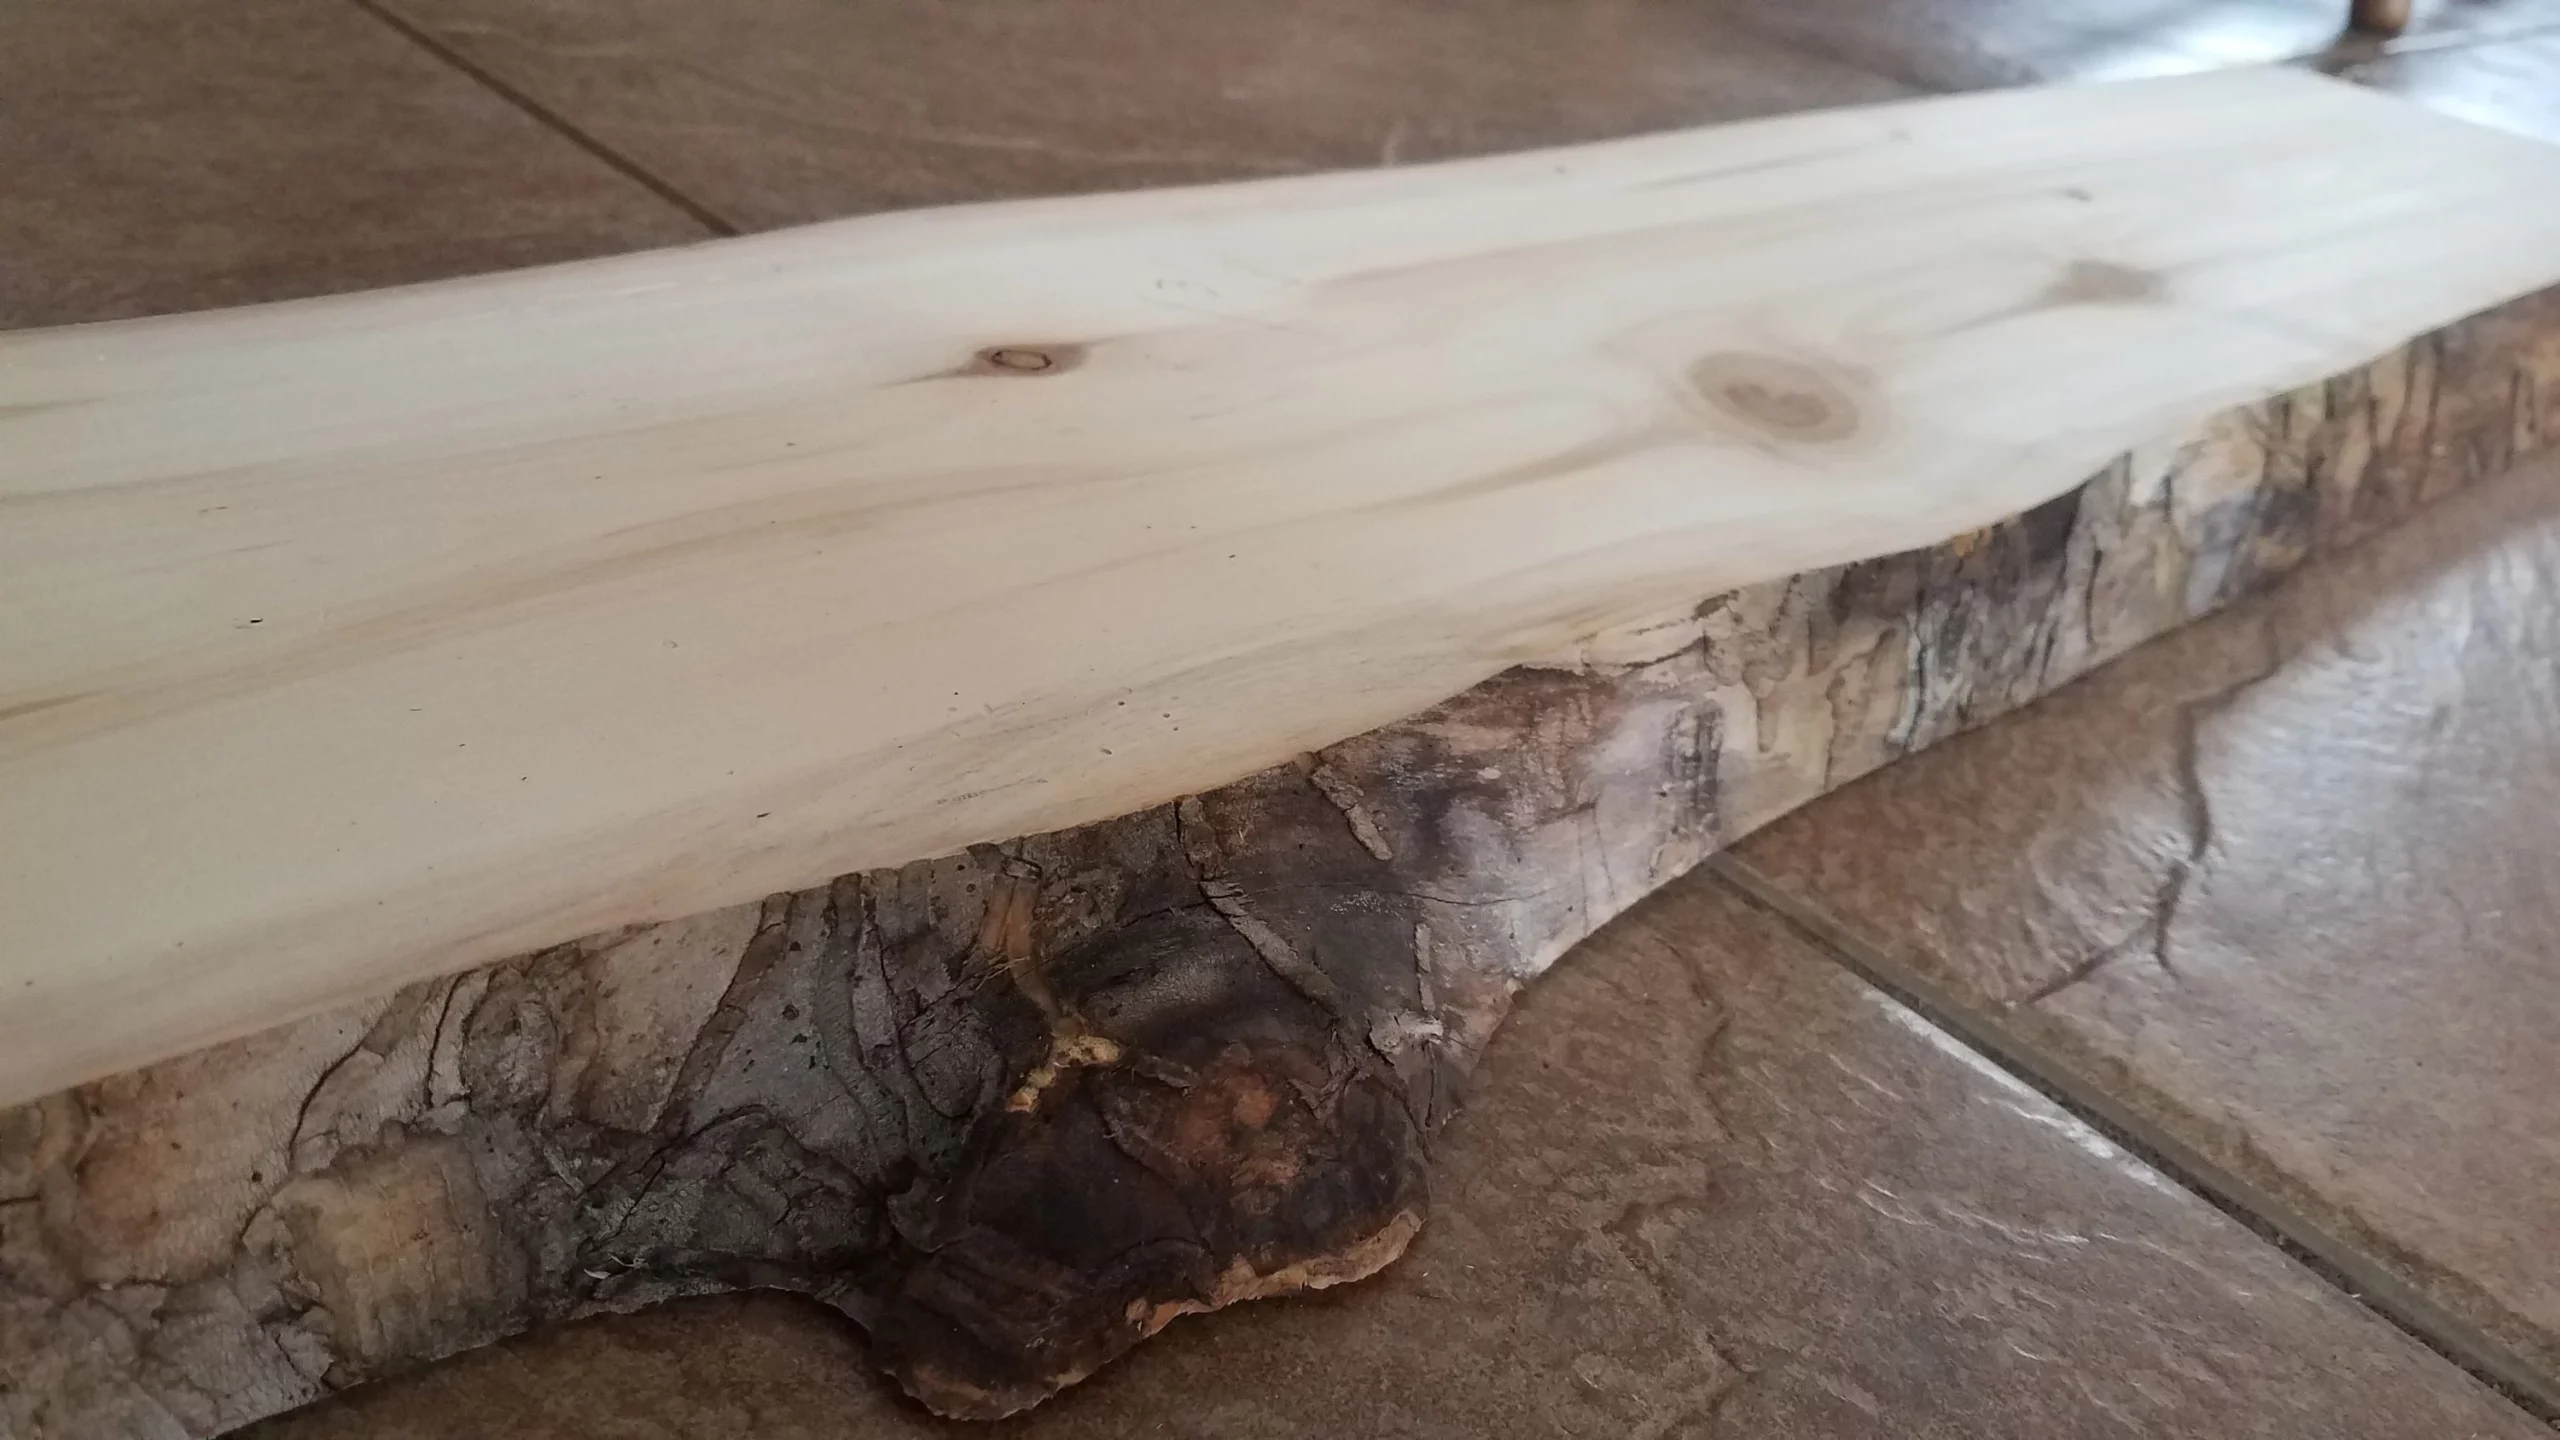
The live edge wood has the natural and irregular edge of the tree, which has been cut from solid wood. The unique shape and contours make them different from traditional wood, with a uniform appearance and straight lines.
Live edge wood shelves are a piece or slabs cut from a tree trunk by cutting into a desired length and width. In these live wood shelves, either both sides of the plank or one is left unfinished to give a natural look. The barks, knots, or any other raw features on that side are untouched to result in a distinctive, organic glimpse. It can be made from different varieties of wood to bring out the unique color and grain pattern. You can use them for any purpose, like bookshelves, decorative shelves, or kitchen shelves, and even as your bathroom shelves.
How to Do DIY Live Edge Shelving?
The floating shelves with live edge wood are often cut into thick boards to give the actual look of coming directly from the wall. The thickness of the shelf has to be 11/2 – 2 inches, ideally. The brackets used to fix them to the wall should get fit and be invisible then. That’s the reason why the thickness is preferred.
Materials to Be Used
- Wood log
- Axe/ Hatchet
- Wooden mallet/ froe
- Wedge
- Electric planer
- Pencil
- Tape measures
- Drill and bits
- Table saw / circular saw
- Hand saw
- Stud finder
- Shop vac
Finding Your Wood
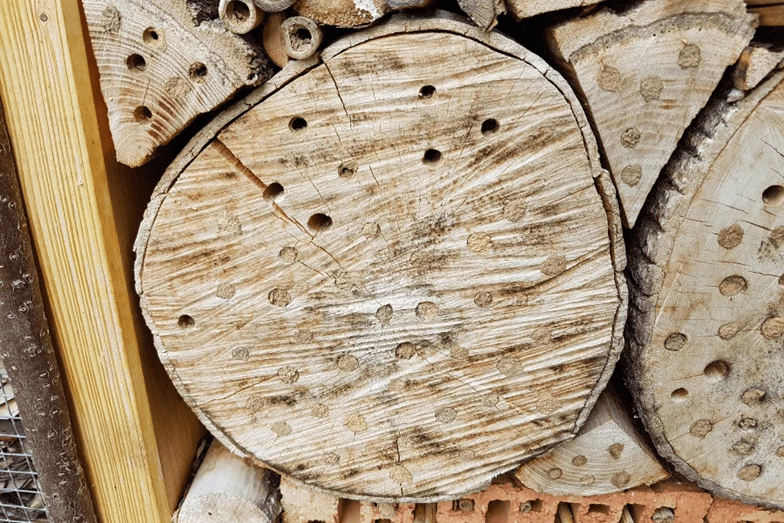
If you happen to live nearby to a growth forest, you can always easily find the hardwoods. Especially with storm seasons, you can get the wood logs from fallen trees. Those hardwoods make the best live edge shelving as they are easily accessible and stronger. Look for these features while choosing the wood,
- Particularly the straight log of the trunk.
- The minimum diameter of the wood is 8 inches.
- There shouldn’t be any secondary limbs attached to it.
- The length should meet your requirements.
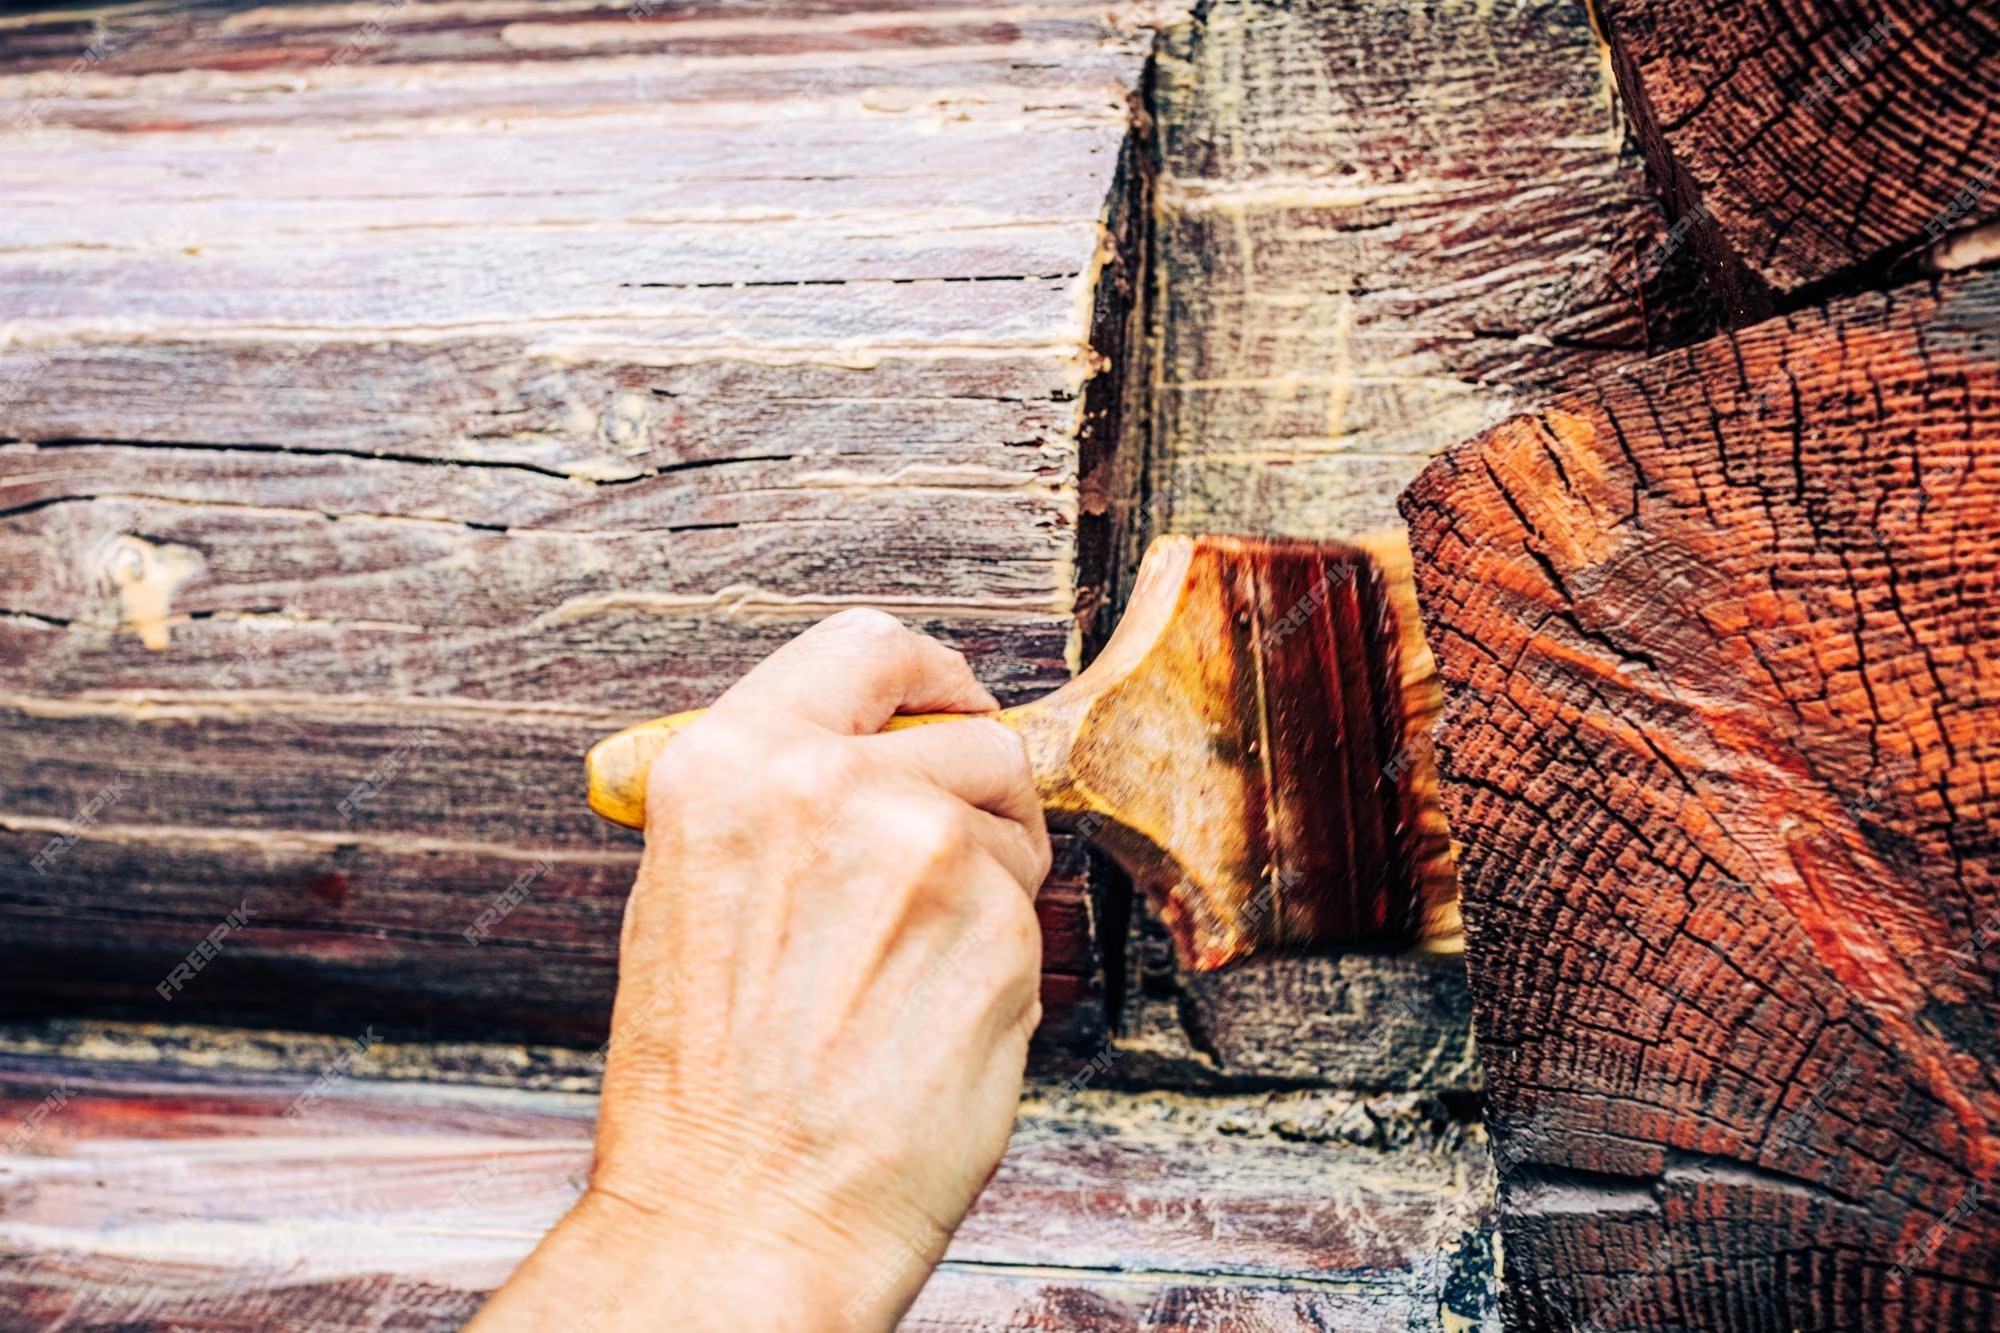
Start with Cleaning
The first step in DIY live edge shelving is to clean the wood. If the regular straight board is used, there won’t be any necessary cleaning or cutting process. For other types, the board needs to be cut into cuts as per your requirement.
In this step, the face mask is essential, as the wood board might have any fungus in it. Even Though the drying might be clean, it is always best to be safe. There would be a lot of dust accumulated which needs to be cleaned by sanding on the flatter areas. Corner Sanders would help in sanding the grooves.
Get some wedges while cutting your slab; it’s better to get small rounds with one end tapered. These wedges will attach to the slab more than the hatchet.
Imperfections and High Spots
Look for imperfections before starting; the wood might have some insect damage or rot. But high spots and knots are more likely welcomed as they give a unique feature to the shelf.
Plan and Seal the Wood
The most important step is to measure your wall size and the shelf you have in your mind. Check the dryness of the wood; if the wood dries quickly, then it is prone to split soon. Here the end needs to be sealed with latex paint or some special paint used to seal the grains. The size and thickness of the board are taken into consideration to leave the moisture level in the wood. The moisture level should be low before finishing the shelves. A firewood moisture meter helps in testing the moisture level. Sometimes it would take a year or two to wait.
Installation of The Live Edge Wood Shelves
Before installation, get ready with the board thoroughly, as it can’t be done after. After finishing the initial preparation, the next is to get ready to finish the boards. The oil-based finish gives the wood a classy look. Either dewaxed shellac or mineral oil could be used to finish to gain shine. After this, you need to sand the raised wood to make it smooth. Three or more coats of general finishes can be given after the sanding. As the water-based finish, Satin Top Coat dries more easily; it gives a clear and beautiful contrast to all the dark and light areas of the shelf.
Attaching the Wall Brackets

It is the crucial part of mounting your invisible brackets. It has to be placed at the correct distance and should not be too close or too far; even a few millimeters difference makes the installation more hectic. Here the painter’s tape trick helps a lot.
- Wall brackets are placed into the holes in the shelf’s backside, and make sure they are placed straight.
- Stick the painter’s tape along the whole bottom while covering the holes in the bracket.
- The bracket hole should be poked open. Then place the tape on the wall you want to place on the shelf.
- Drill holes on the wall through the holes in the tape. After removing the tape, install the anchors.
Attaching the Floating Shelves to The Anchor
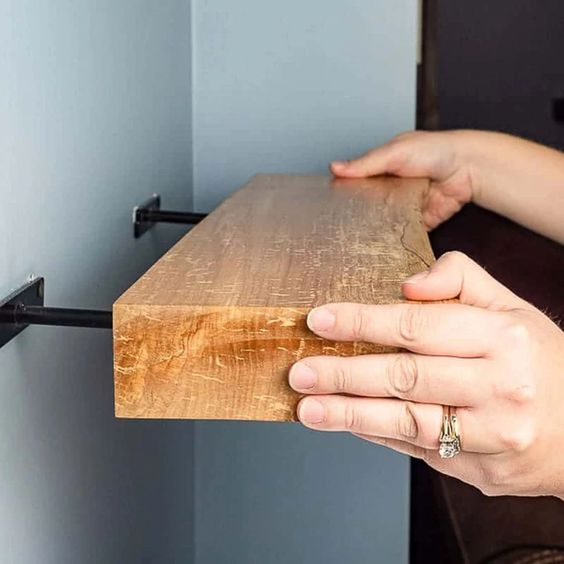
This is not as easy as it seems. Lining up the brackets with the holes and sliding them in. The brackets usually have a mild upward angle to counterbalance the weight which will be given on the shelf. It gives a little skewed look when they are empty. It would get even after placing the objects.
Testing and Decoration
After installation, the essential step is to make sure the shelf is intact. You can put some additional screws or any other methods from the manufacturer of the brackets. This helps in additional stability and prevents any accidental knockoff.
Double-check the stability of the installation by giving a gentle shake. Make the necessary adjustments by rearranging the bracket if they are loosely fitted. Follow the instruction manual from the live edge shelves and brackets manufacturers.
After the perfect installation, you can start decorating your live edge floating shelves by arranging your favorite books or the collection of your art pieces. LED strip lights or battery-powered puck lights underneath the shelves give a warm glow to the ambiance and highlight the live edge and the objects on the shelves.
Conclusion
The naturally beautiful Floating live edge shelves give any room a classy look while giving a more spacious look. It can be used as a storage shelf in your kitchen or bathroom too. Selecting the right wood for your room and making sure the wood is ready for preparation is the first thing.
After initial preparation, the installation is done with exact support and stability. The invisible brackets are placed at the right angle to attain the magical floating look on the wall. The painter’s tape method makes the anchors placing more handy.
After sliding the shelf through the brackets, the eye-catching, functional shelves are ready to give the visual treat. What do you think of fixing your long waited live edge floating shelves after reading this article? It’s Simple and Secure, right? Try these beautiful interior designs in your house or office, and let us know about the outcome!


0 comments
https://ficcpnhwqv.wordpress.com