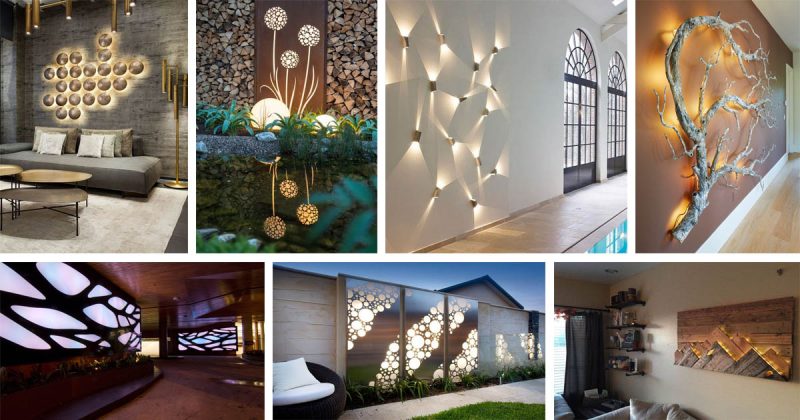
Are you bored of the same old wall patterns and want to give a quick makeover to your home without making it too expensive? What if we told you that we have a pocket-friendly solution where you need not call electricians, carpenters, or interior designers? YES, quick DIY it is!
We all wish to have a wall, especially for our pictures and memories, and completely devoted to family. Don’t we? However, we struggle to bring eyes to the wall and make it a center of attraction. Simply putting up family photographs on the wall is too passe and cliche; let’s highlight it with wall art lights.
This article will not just tell you how to put up wall art lights yourself but will also take you through hacks and tips you should know to make this task easy and quick! With suggestions of what lights you should purchase, where you should buy them from, and the perfect angle and positioning of the wall art light, this article is a one-stop solution for all your questions answered!
Once you have the picture lights handy, follow the steps given below to save some money :
Step 1 – Figure the Right Spot to Hang the Wall Art Lights
You require a measuring tape, a scale, and a pencil for this step. Find the center of the wall frame and the location where you wish to hang the wall art light. The wall light needs to hang with two pins, so you need to make sure you mark the position of the two holes at the same level, provided the light is at the center of the artwork or frames.

Quick Hack: Mark the points at least 5-7 inches above your frames because you do not want the reflection of light to fall upon your frames. Artwork or frames should be placed at around eye level because you obviously want people to see through your beautiful painting and family photographs. Therefore, wall art should be placed at a minimum of 5-7 inches above it. Hence, remember, the standard height of the light from the floor should not exceed more than 5.5ft.
Step 2 – Mask-Up, It’s Time to Drill
The two spots marked now have to be drilled. (In case you’re allergic to dust, please mask up before you cough) Get hold of screws or pins before so that you know how big a hole you require
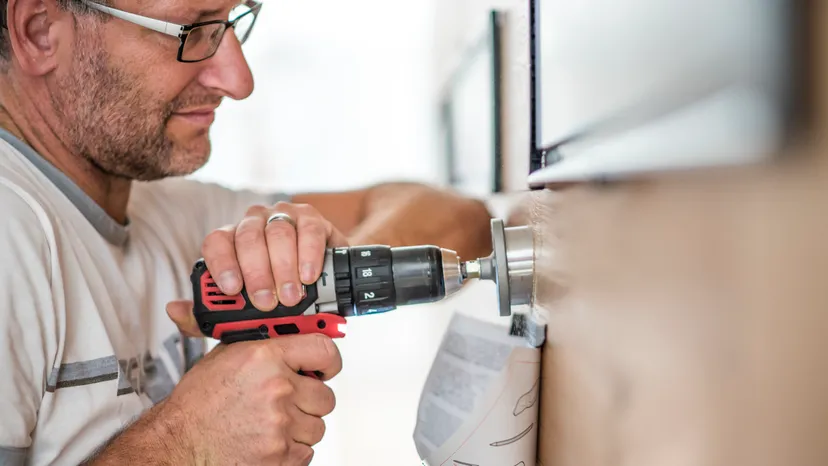
Step 3 – Remember, You Need to Place Anchors First
At the drilled location, you have to fit the anchors. One anchor in each hole because we want the screws to remain tight and not fall off. After placing the anchor, remove the remaining anchor coming out of the wall. You must make sure that the anchor is at the exact level of the wall

Step 4 – Time to Fit the Screws
After the anchors are fixed, drill the screws into the anchors. Remember to leave a little portion of the screw outside because you are yet to hang the wall art light. You can even use a hammer to fit the screw into the anchor, and then using a screwdriver to keep it intact with the wall is a good idea.
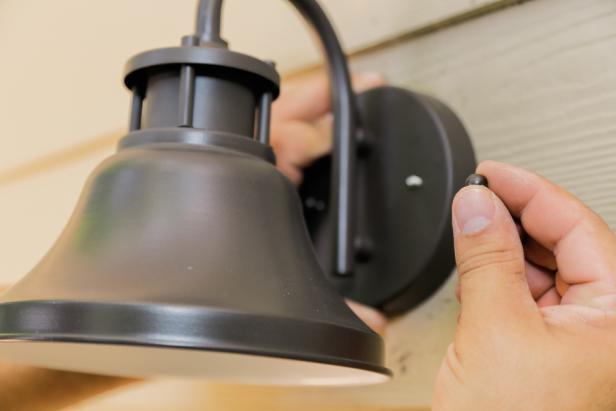
Final Step – Get Ready to Appreciate Your Work
Place your wall art light on the screws and start tightening the screw with the help of a screwdriver until the light is secured on the wall.
Ta-da! You are now done!
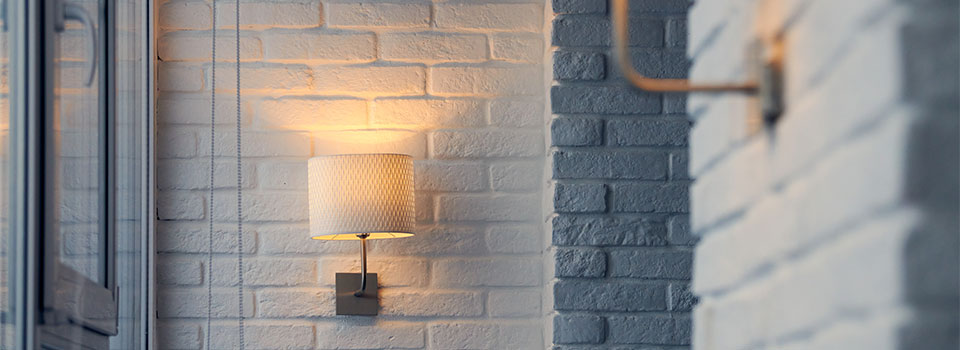
This light can also be used as a night light, a romantic dinner party, even a movie night, for your home’s entry, around your garden, on your bedside, and just so much more. If you’re a book lover, you can use it for your bookshelf as well.
Let’s answer some of the most frequently asked questions!
Things You Should Remember While Purchasing Wall Art Lights
Always choose LED wall art lights. If you’re wondering why spend extra when you can buy normal light or bulb for a much lesser price, give it a thought!
- You require the following things: a sharpened pencil, scale or measuring tape, anchors, screws, a screwdriver, and a hammer. Therefore, keep them handy.
- There are two prime reasons to choose LED wall art lights. Primarily, it does not radiate UV rays and thus does not cause any damage like fading colors on your painting or pictures. LED lights do not make the light source hot, thereby preventing your frames from heating. (Pro tip: Buy LED lights on the basis of their light output and not for their watt or energy usage.)
- Opt for a warm white color light. You do not want your frame to look too bright and unfocused, so refrain from choosing yellow! Warm white is just the right choice for highlighting your wall and giving a spotlight to the art.
- If you are somebody with long-sightedness, you must buy a battery-enabled LED wall art light! They are hassle-free even if you want to change the location of the light. As they are wireless, you can simply unscrew the light and shift it to a new place.
- You probably guessed it right! As the name suggests, wall lights are mounted on walls and are most generally used to highlight a particular wall or to showcase a well-furnished modern home. To build on architectural features and enhance walls, wall lights are the best choice for living rooms!
- WAIT! Aren’t you confused about the right size of wall art lights? Don’t worry; we got your back. Measure the width of your frame wall, exactly from the point your first frame begins to the point where your last photo frame ends. Now, the 1/3rd of the measurement is ideally the size of light you want to illuminate your wall even when it’s dark!
Types of Wall Art Lights
Have you been wondering where to get wall art lights from? We’ll give you some super cool options to choose from:
1. Luxsway Wireless Picture Light: This one’s a battery-operated and remote-controlled light. Available in 3 beautiful colors – Gold, Silver, and Black for around 29 Dollars. Do you want to know the best part? You can adjust the brightness level and set a timer to switch it off as well. How cool is that! Absolutely perfect for a living room!
2. Joosenhouse LED Picture Light: It is dimmable and has a swing arm. You can even adjust the direction of light according to your convenience! Easily rotate up, down, or a 180 degrees and highlight the exact place of the frame. Isn’t this just what you want?
3. Koopala LED Wall Sconces: The right choice for keeping it minimalistic but fulfilling your purpose of illuminating your art or photo frame corner. It has a neat wooden covering, and among its benefits, it has a battery-based operating system and is rechargeable. For DIY, it’s a must-buy because it’s cordless!
4. Arika Solid Brass Wall Sconce: If you are somebody who likes aesthetic and vintage products, trust us, this is for you! Available in satin brass, satin nickel, ivory finishing, and taper candle, this wall art lighting will remind you of the Victorian era. Amounting around 159 Dollars, we know that’s a little expensive, but it’s absolutely worth it!
5. Yuewilai Magnetic Wall Sconce: Giving your art wall a spotlight, it has a unique feature of a 360-degree rotating magnetic LED ball! Depending on the quantity you buy in a pack, the price ranges from 19 to 67 Dollars approx. Let’s skip to the good part, it has a magnetic battery operating system, and voila, you need not spend time making holes in the wall.
Try the Multi-Purpose Wall Art Lights Yourself!
You can use these wall art lights for your bookshelf, temples, and frames in the living area, beside your bed, by the stairs, artwork gallery, night lamp, as well as entrance to your home. Multi-purpose light it is!
Go on and get yourself a wall art light; put it around your frames and artwork! It’s the best makeover you can do on a pocket-friendly budget. It looks like it’s super easy. Try it for yourself! Once you are done with putting the light up, switch them on and see how your frame has been illuminated. It will hardly take 15 minutes, and you will be done in a jiffy with a quick makeover!
We hope this article has answered all your queries starting from purchasing the right wall art light to putting it up at the right place at the correct angle!
Frequently Asked Questions
Will Lighting Be Better from Above or Below?
Lighting generally looks best when the light source is placed above. It covers a larger area and gives a very natural effect. Light is also said to hit the center when placed above. The angle of the light plays an important role. Placing light at 30 degrees minimizes reflection and perfectly illuminates the frame with the right amount of light.
Do Led Lights Consume a Lot of Electricity?
Absolutely a myth! On the contrary, LED lights consume very little electricity. The Department of Energy said, “LED lights consume 80% less energy than their traditional counterparts and last 25 times longer”. Didn’t we tell you that we will give you a pocket-friendly DIY for a quick makeover? Hence, PROVED LED wall art lights can be the best choice for you!
How Long Do Led Lights Work?
LED lights are long-lasting and have an efficient life span. It is one of the major reasons why people choose LED lights. Results show that they can last for about 100,000 hours, whereas a traditional incandescent bulb can only work for 1,000 hours. LED lights can be used for up to 20 years without changing.
How Should I Choose a Wall Art Light?
Most generally, you should try using a light that is at least half of the width of your frame that you want to highlight. If I say that my frame is 20 inches, I will want my light to be at least 10 inches. However, if your frame is more than 30 inches, say it’s 50 inches, do not hesitate you require light of a minimum of two-thirds of the frame.


