
Wondering why your previous plywood work got worn off? And how to prevent it from happening further? Staining Plywood is the cure that will work for you. It adds a protective yet decorative layer to the plywood for your regular use.
Yes, definitely, plywood can be stained. In this article, we will tell you the appropriate way of staining plywood to avoid any kind of harm.
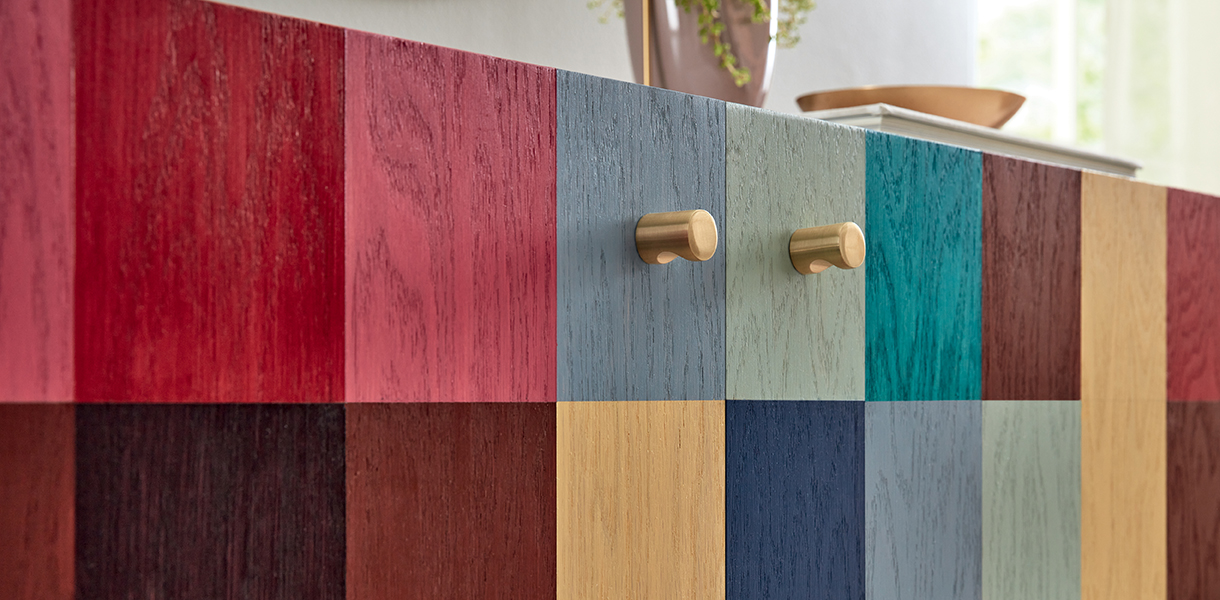
Plywood is a versatile material and can be used for furniture, outdoor projects, and many more things. Regardless of how similar wood and plywood are, staining plywood is somewhat different from staining wood. You need to be a little cautious with the materials and procedure for a smooth finish.
Gather your materials and refer to the following steps for staining plywood:
Step 1: Prepare the Plywood
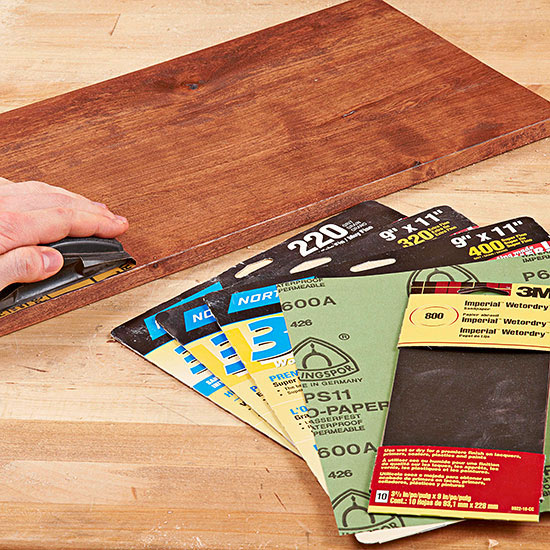
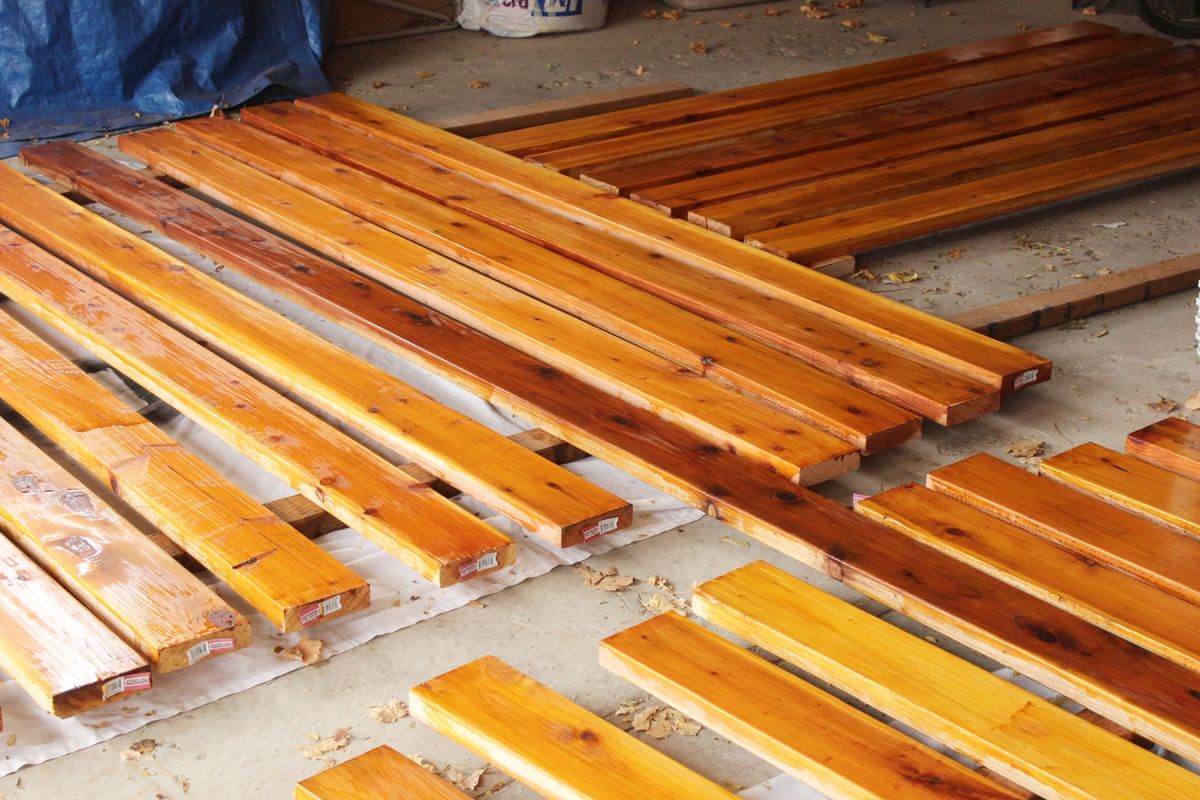
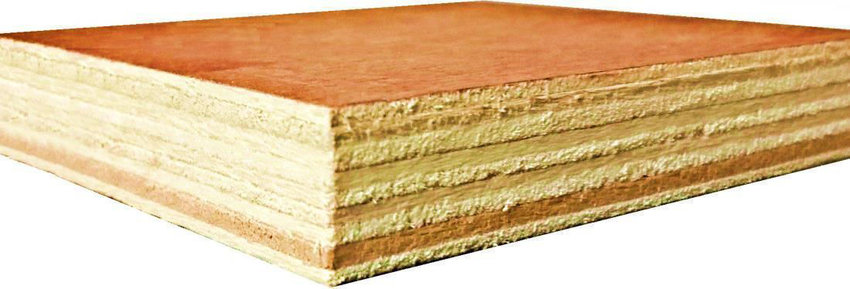
Choose the plywood that you want to stain to your desired look and get started with preparing the material for easy processing. Begin with sanding the plywood. Use only and only 180-grit sandpaper. You do not want to sand off the top layer and thus use low grit and low speed while sanding the plywood. Be extra cautious with the edges.
Then, use a microfiber cloth and wipe down the plywood. You can also use mineral spirits to remove the caked-on sawdust. After that, let the plywood dry for a few hours. Once it is dried, use a layer of wood conditioner, this will help the plywood to absorb the stain evenly through the surface. However, this is an optional step since sanding reduces the pores of plywood, and certain plywood, like oak plywood, stain really well. So, it’s a personal choice.
Step 2: Staining Plywood
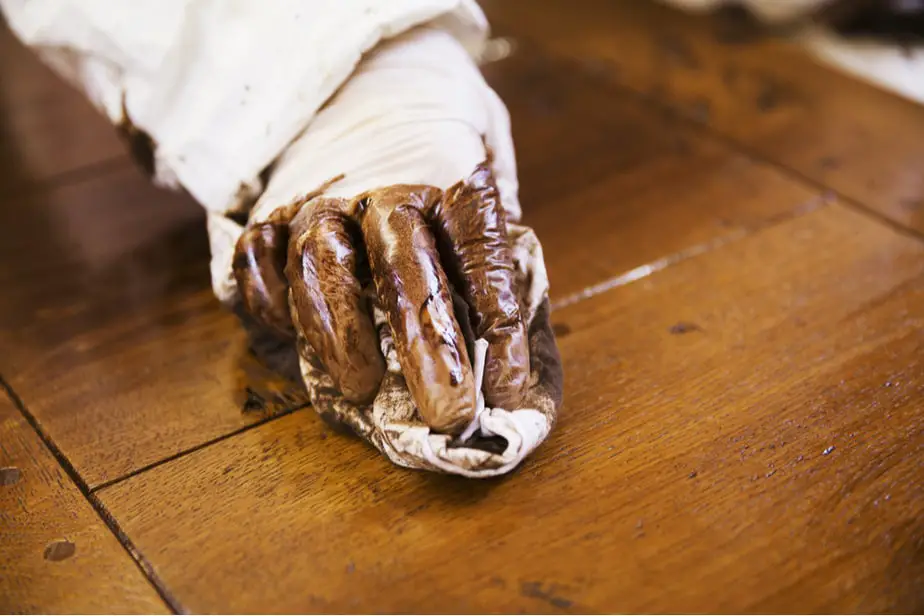
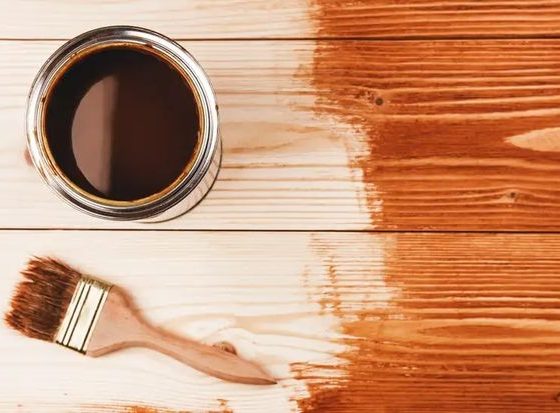
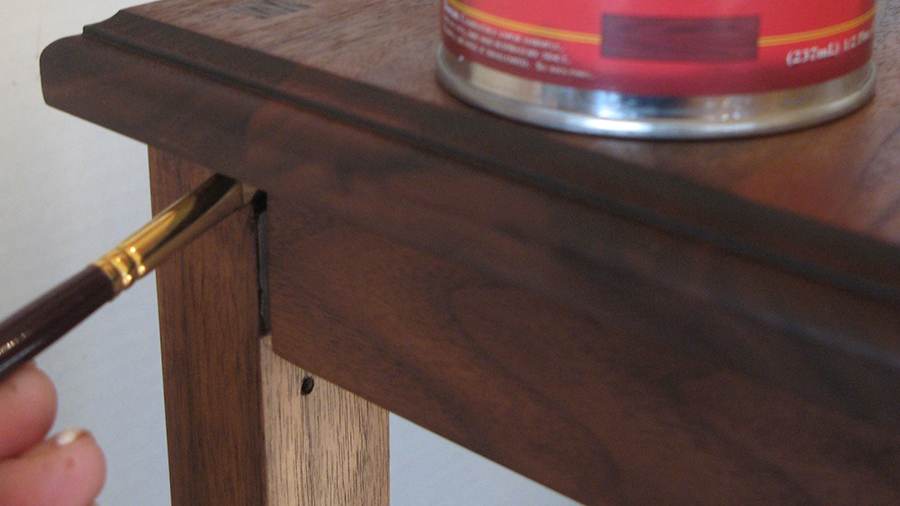
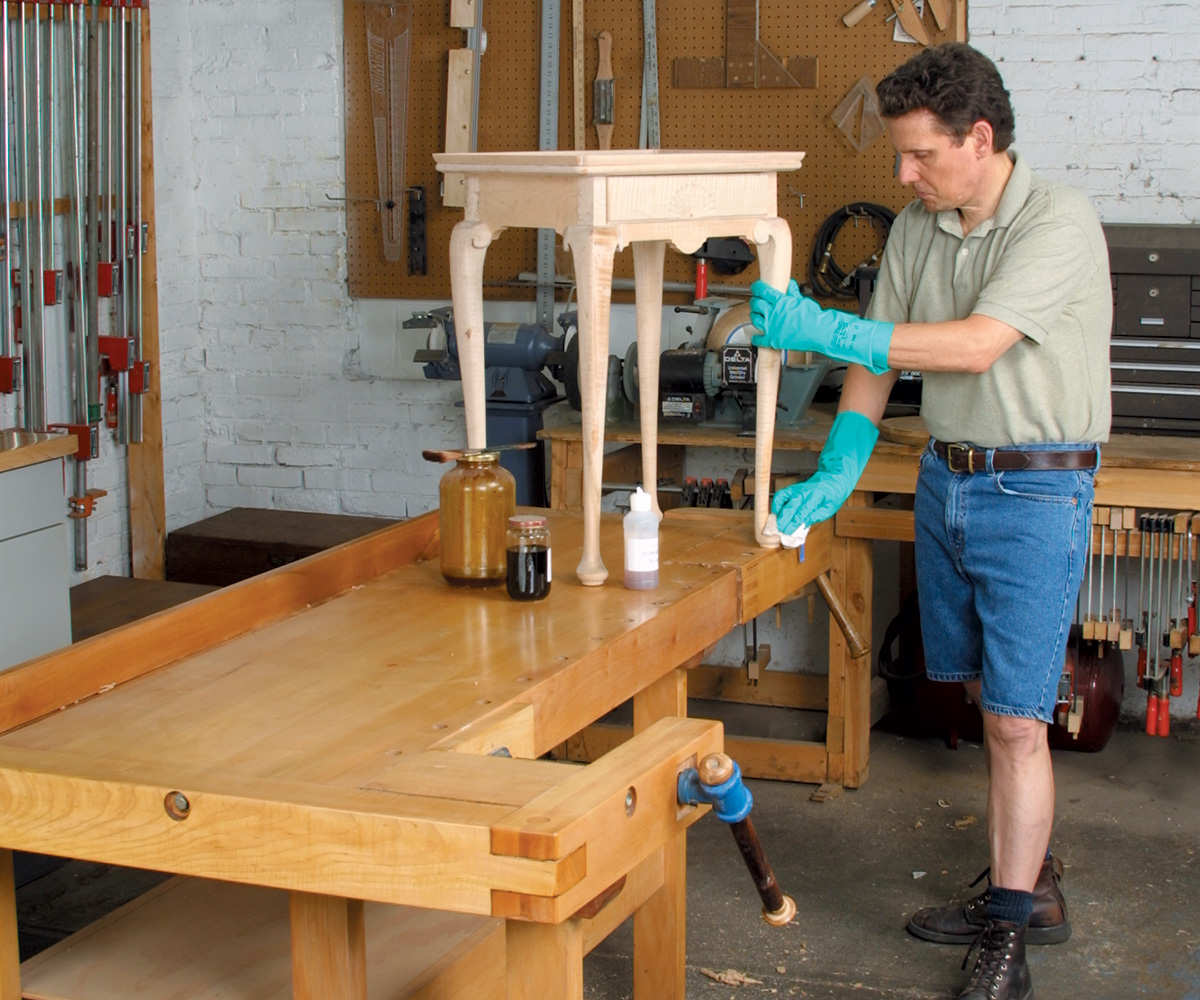
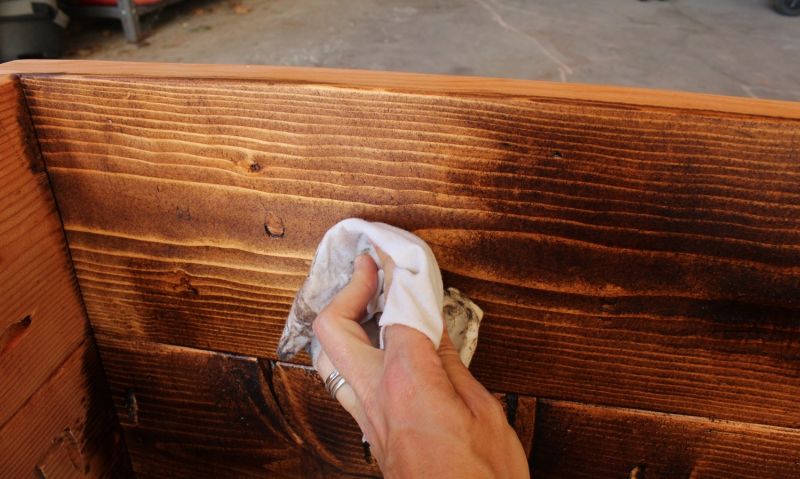
Now pick up a rag instead of a stain brush to start staining the plywood. This will help you have greater control over absorption and helps in reducing blotchiness. Make sure to stir the stain properly before applying and avoid shaking the stains, or it can create unwanted bubbles on the surface. The worst mistake you can make here is to linger too long with the rag.
The longer you let the rag stay in one place, the more stain it will absorb, making the area darker than the rest. Try moving the rag in a swirling motion or in the direction of the grain to avoid bubbles. Just remember not to let the stain pool in a place, and your staining plywood will be good to go.
Step 3: Wipe off the Excess

Now that the surface has been adequately stained wipe off the excess material from the surface to avoid darkening of the area. It is an important step in staining plywood while using a brush. However, if you have used a rag for staining plywood, this step becomes optional since staining with rags rarely leads to excess.
Also, to tell you a secret, you can stain using the wiping technique. The secret is to pour the stain on the surface of the plywood and immediately start wiping it in the direction of the grain, which will help the plywood absorb the stain like it has been painted. This will eliminate the double hassle of first applying and then removing. However, it needs practice to be thorough with this process of staining while wiping since it can create uneven tones on the surface.
Step 4: Let the Workpiece Dry
After you are done staining plywood and wiping the excess, let the workpiece settle and dry down. This step is a must before applying the final coat, or else all the hard work will become a mess. If you have used a water-based stain, you need to let it dry for 30 minutes to 1 hour, and your piece is ready for final layering.
But, if you have used an oil-based or gel-based product, it will need a good 5-7 hours to dry up before any other layer can be applied. Do not rush with this step, or you will end up hampering the whole process.
Step 5: Apply Wood Sealant
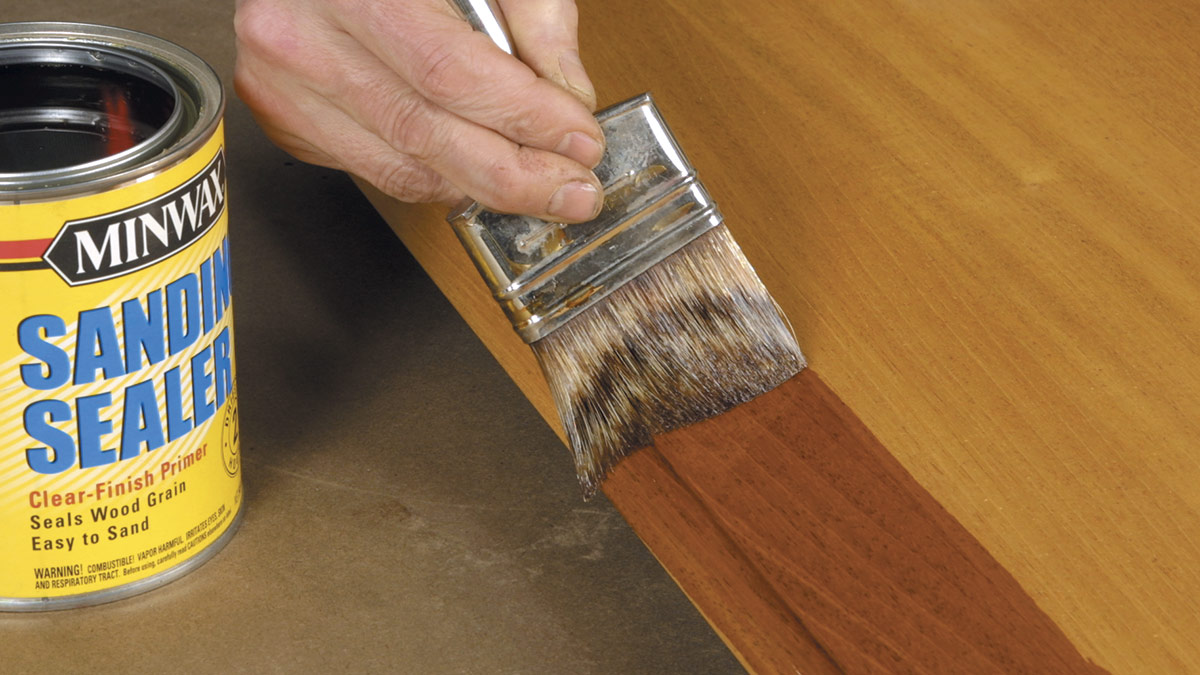
Now, after all the above-mentioned steps are adhered to, apply the final layer of wood sealant. A clear coat of wood sealant is necessary to protect the plywood for a long time. Staining plywood is fun but requires skill and attention.
But, before applying the sealant, rough up the recently stained surface with light pressure for the texture to absorb the wood sealant. Your stained plywood is ready! But there’s always a ‘but’! There are certain things that you need to take care of for smooth staining and getting your desired results.
Type of Stain Used for Plywood
Oil Based Stain
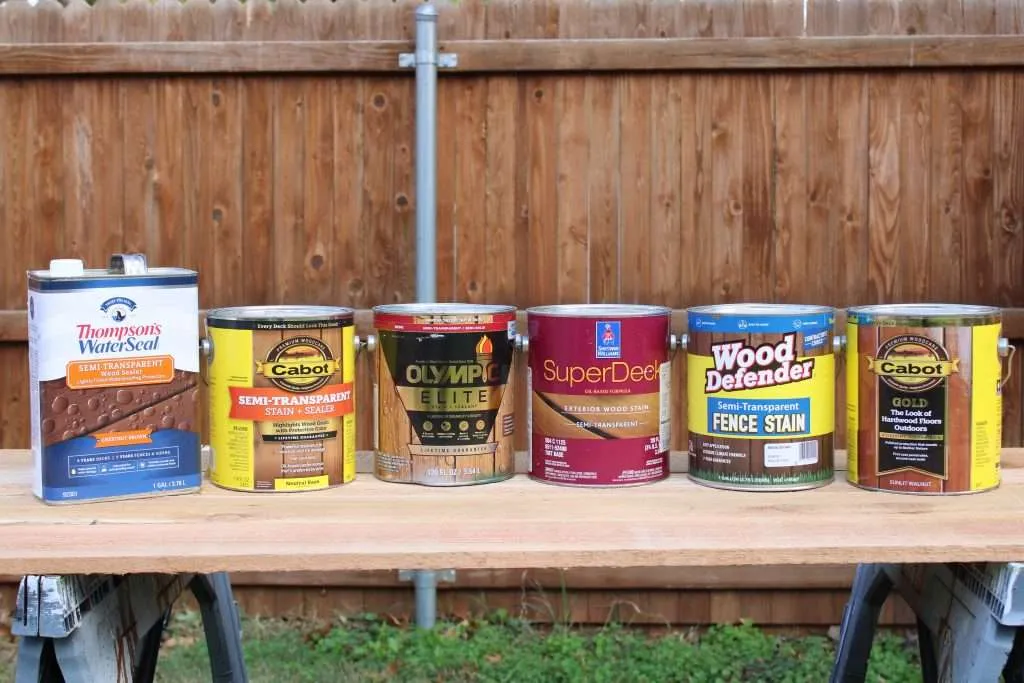
It is a traditional stain and is easily accessible; it does not lie about the fact that you were about to purchase this for staining plywood before you reached this section of the article. Well, you will no longer consider buying this one since it is toxic!
Not only does it appear blotchy on pine and birch plywood, but it also exposes you to hazardous fumes. Also, the oil-based stain trails a yellowish amber tint after its application, and let me tell you, its application is quite challenging due to the thickness of the stain.
Still, if you wish to use the oil-based stain because it gives a rich look with little maintenance, apply the stain in a well-ventilated area.
Gel Stains
Gel-based satin, like an oil-based stain, takes a long time to dry but differs in the way that it accentuates wood’s features. For blotchy plywoods like pine and birch, it is a go-to option since the thickness of this stain controls the amount which is absorbed into the wood.
Unlike the traditional stain, the gel stain can be left on the top of the staining plywood indefinitely and is thicker than the traditional wood stain. They are color varnish and are more expensive than traditional wood stains. But, the expensive gel stain negates the use of wood conditioner, thus minimizing the overall cost.
Water-based Stains
Water-based stain is a thinner stain material, and thus you do not need to worry about discoloration. It isn’t rife with Volatile Organic Compounds(VOC), and the staining plywood dries up in 1-2 hours after its use. However, applying the water-based stain is not easy since it is transparent and requires several layers of protective coating, and also is less durable. Only if you want a water-based finish, go for the water-based stain option.
Tips to Stain Plywood
Use High-Grade Plywood
Ranging from Grade A to Grade D, plywood comes in various varieties. It is preferable to use the plywood with either Grade A or Grade B since their grains are consistent, which makes them more receptive to wood stains. Even though the higher-grade plywood is more expensive than its lower-grade counterpart, it is worth it for a beautiful look and 100% visibility. Furniture is something you do not change every day, so use good quality for long-lasting credibility. The lower-grade plywood might get dull and rotten with time. Making your place look dull.
Test Stain
Since you want absolute results and are not doing all the hard work for the sake of experimenting, test the stain on a sample plywood, preferably the same material as the staining plywood. This will give you an idea of how to proceed with working on the actual workpiece since the sample will produce results on how the stain looks. You might not want to wait for hours to get the result, and you will not even have to. Since it is just a sample test, you can get an overview after just about 15-20 mins, and you can get started thereafter.
Prepare the Work Area
Before applying a wood stain or wood sealant to the staining plywood, ensure that the area you are working in is well-ventilated. If the place lacks proper ventilation, move to a well-ventilated area and also collect all the safety gear like goggles, gloves, long sleeves, long pants, and a respirator.
All these measures might sound a little extra but trust the advice since it will protect you from any kind of hazardous fumes or irritation on the skin if heavy-duty stain drops on the skin. Plus, if any of the material gets into your eyes, Oh Lord! Please use proper safety gear and a well-ventilated area to work.
Less is More
It is always preferable to apply more later than dealing with the darkened areas due to the excessive stain already. Thus, start by applying less stain, and you can increase the density as soon as you start getting results. It is easy to apply more once you find out the inadequacy, but it is quite challenging to remove the excess stain with a lint-free tack cloth.
Also, if you apply excess stains and let them dry to check the results, you will end up wasting the whole workpiece. The plywood will be dry and cracked and will peel the surface, leaving you with a blotchy surface. All waste of time, money, energy, and materials.
The Bottom Line
Staining plywood is a great option for the durability of plywood since it protects them from warping, weathering off, and water absorption. Remember to be patient all through the process; patience while you apply the stain and patience while you let the stain dry. Do not sand off too much, or you might end up layering off the easy edges.
Use good quality plywood and wood stain not to regret the results later. These suggestions are very much essential for your safety. Rush to the store, collect all the materials, and set the ball rolling for your next DIY plywood project. Do not forget to express your thoughts in the comments section below.