Pine is popular among woodworkers. Wanna know why? It’s abundant, it’s inexpensive, and it’s durable. The perfect trifecta when it comes to selecting wood for wood projects.
Often, people neglect to choose pine wood due to its bad reputation of being a cheap wood. Sure, it is not maple or mahogany, but with the right treatment, pine can be quite as beautiful. It’s all in the stain to make the light-colored, grainy pine look like a million dollars wood and give it a luxurious finish.
Looking for a stain for pine wood? You are at the right spot. As much as I would like to jump right into the best stain for pine wood, knowing the ins and outs of staining pine is essential to make the best choice.
So Read on to find out everything about staining pine wood and understand pine can make luxurious interiors too.
Does Pine Stain Well?
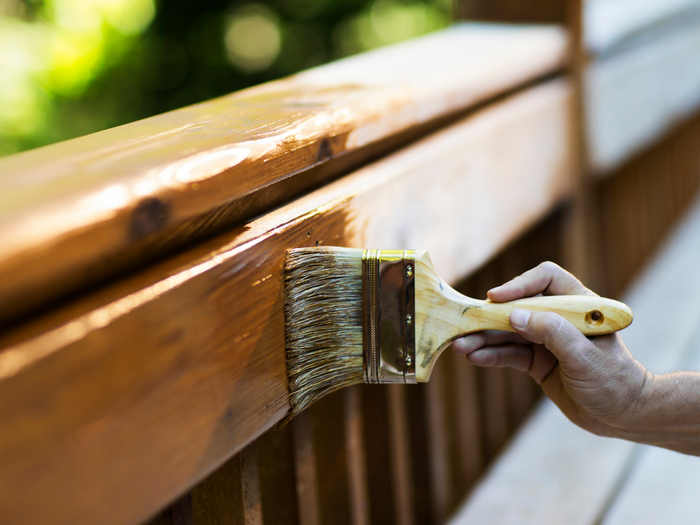
Pine is popular among woodworkers. But when it comes to staining pine, it is not quite straightforward, and they are curious because of the grainy surface. Mostly staining pine would end up in a blotchy surface with grain reversal giving not exactly the desired finish.
Factors affecting staining pine are:
- Grainy surface – Pine contains alternate late dense wood and early less dense wood, which causes uneven absorption of stain, giving a blotched appearance.
- Resin content – Pine has natural resin, which can seep through to the surface, interfering with the staining process.
- The quality of pine – For example, if the wood that you have has a lot of sapwood and knots, there would be uneven stains.
But first, if you are in a dilemma and are pondering if pine stains well, rest assured it does. Now that you have the wood, it’s up to select the stain for pine wood to get started.
What Determines the Best Stain for Pine Wood?
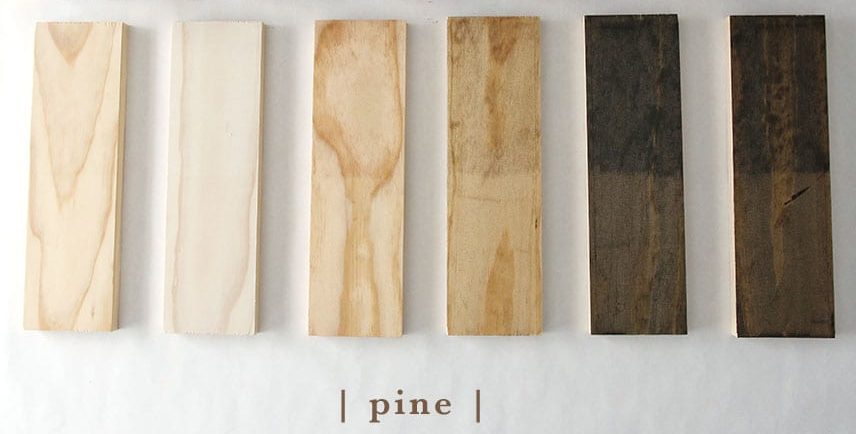
If you are a novice at this, knowing the nitty-gritty of staining is important. Wood stains come in various colors and transparencies. The best trick is to try the stains on a test wood first. This way, the outcome is not left to guesswork.
The following factors will help you determine the best stain for you.
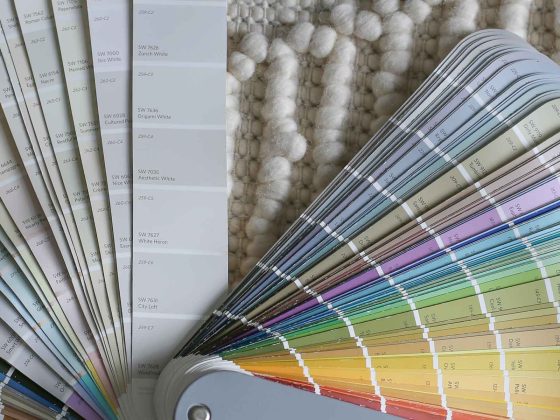
- Colors and tone: While selecting the best stain, conceptualize the color you wish to have. Be it for interiors or outdoor furniture, ensure the colors match the overall tone and style of the house.
- Transparent or opaque: Keeping the final objective in mind, if it is hiding the entire surface, then solid deck stains should be your choice which offers enhanced protection for a longer duration. But, if you only wish to highlight the natural color of pine, a thin layer of transparent stain will enhance the color of the existing wood.
- Budget: Plan your budget well. Sometimes you may face a Budget Vs. Product situation. It isn’t recommended to get a substandard product for a lower price. But also do not end up spending excessively and regret it later. Consider all the factors carefully during research.
- Application: There is a huge range of formulas in the market. However, following the rule of thumb and selecting the least complex formula is wise when you are a beginner. For example, if this process is relatively new to you, using a brush is preferable to a spray. Go for advanced application methods only if you are an expert.
12 Best Stains for Pine Wood
The wide range of availability makes choosing the right stain difficult. If you are wondering what is the best stain for pinewood and where to start, here’s a round-up of the most popular stains based on customer preference and brand performance.
Based on The Color of The Stain
1. Best Light Stain for Pine Wood
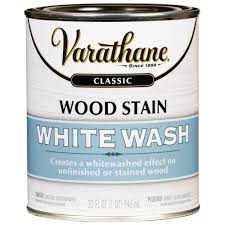
Pine is such a lighter wood by itself, so applying a light stain wouldn’t offer much difference. Whitewash by Varethanereally lightens the wood and has a transparent finish, and doesn’t look so white.
Unlike other woods, using medium brown stains on pine gives a lighter outcome. Minwax weathered oak and Minwax special walnut are great options to obtain a beautiful light stain when used over pine. The Minwax golden oak is another stain that gives the knotty pine an oak wood appeal.
2. Best Medium Stains on Pine
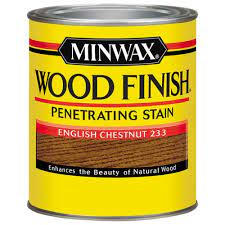
Well, there is an option for everyone’s preference, light, dark, or in-between. If you do not want a vibrant stain or a dull one, go ahead with the Minwax English chestnut stain. It is rich, classic, and in the middle of brown, which turns slightly reddish as it ages.
3. The Best Gray Stain for Pine Wood
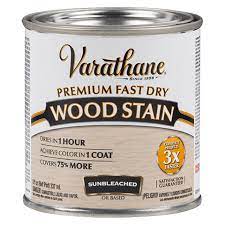
Sun-bleached by Varathane would top this list. The formula for this is oil stains that have a warm gray color, almost a greige undertone. This muted gray looks sophisticated and is trending these days, much similar to the Sherwin Williams Agreeable gray wall paint. It dries up quickly and lasts for a lifetime. Take extreme care in application due to its thick consistency.
4. The Best Dark Stain for Pine Wood
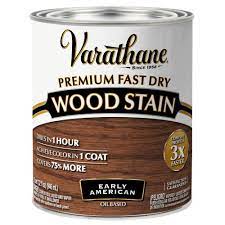
Early American by Varathane is a rich brown stain that shines through a pine wood. Apply a thin coat first and go ahead with the next coat for a darker finish. It is easy to apply and dries in just 2 hours.
Experts have an opinion that the Minwax brand has much more pigment than the Varathane brand. So when it comes to dark stains, Dark Walnut and Early American are great choices, and you can go with the brand depending on the preferred intensity of the stain.
5. The Best Combination
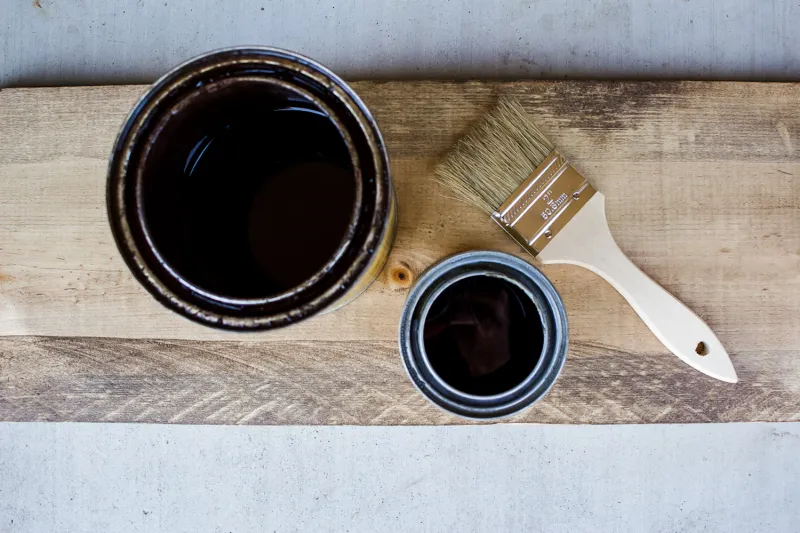
Experimenting with combinations is not a beginner’s game. But, for those who have been there and done that, we share our most loved shade. Minwax special walnut and Minwax classic gray.
The number one tip is to apply the walnut stain and wipe it off immediately. Then top it with the classic gray and allow it to penetrate well to achieve our favorite stain for pine wood.
Based on The Formulations of The Stain
6. Best Overall Stain for Pinewood
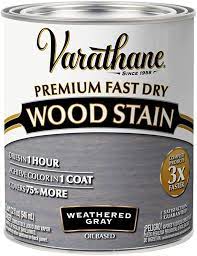
Varathane Fast Dry Wood Stain product dries quicker than most oil-based stains and is a lighter color, breaking the stereotypes of oil-based stains. Its best quality is that it accentuates the natural charm of pine wood.
The secret to quick drying is that the base formula is unique. It is difficult to sand. However, this disadvantage is outweighed by various pros like quick drying, larger surface area coverage, and it gives the perfect shade in just one coat.
7. Best Oil-Based Gel Stain
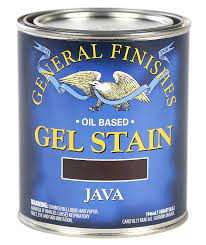
General finishes oil-based gel stain from Java gives vibrant and professional color. This is a perfect combination with the durability of oil-based stains and the ease of application of gel-based ones. This will make your pinewood project shine with a lustrous finish.
8. Best Water-Based
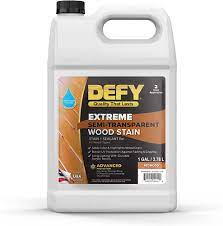
DEFY Extreme Wood Stain is the best water-based stain for Pinewood. It is an eco-friendly product that offers great protection against environmental elements.
It has UV protection, and it is great for outdoor projects that prefer a redwood matte finish. It takes a longer time to dry completely but is highly durable and lasts long with little maintenance.
9. Best Pine Penetrating Stain
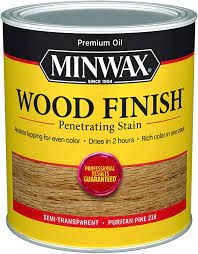
Minwax penetrating wood stain is a deep penetrating stain that provides excellent protection and lasts for decades. It is an oil-based stain and sealer, and by now, you would know it is a trusted brand too. The fact that it comes in 28 shades makes it desirable for interiors.
10. Best for Pine Furniture
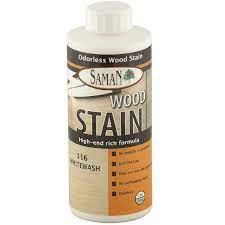
When it comes to furniture, Saman water-based wood stain is your best bet. With far more variety than most brands, including 40 colors, it is likely to find the right stain from this lot for anyone. If you are picky about color or shade, no other brand can help you better.
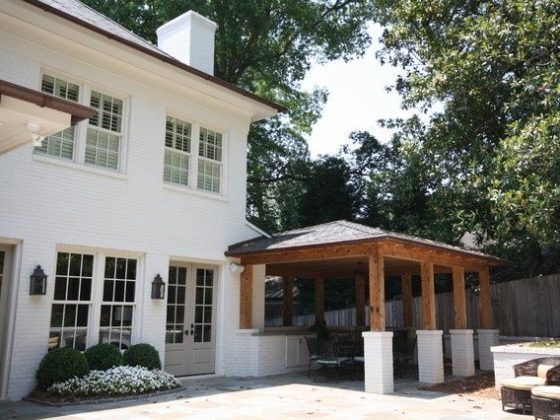
11. Best for Outdoor Woodwork
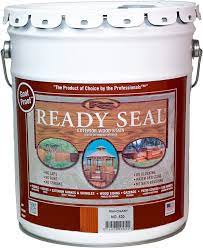
Ready Seal Exterior stain and sealer is the best choice for larger construction and outdoor projects. Its chemical formulation protects against environmental factors, making it ideal for outdoors.
It offers protection from UV and is water resistant, which makes it more durable. It is easy to apply, and no primer is needed. Make sure you don’t apply it over painted wood, which blocks its penetration.
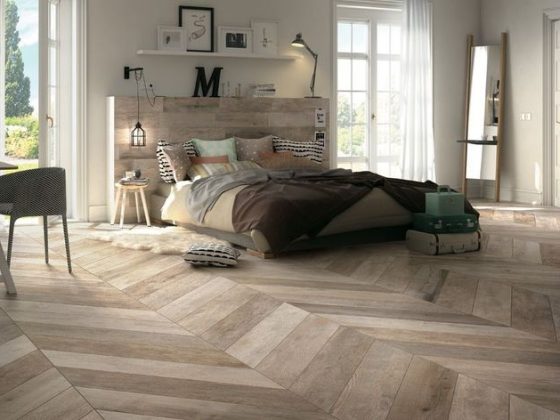
12. Best for The Pine Wood Floors
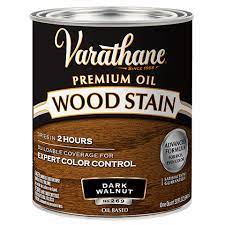
The rust-oleum Varathane premium wood stain is the best stain for pine wood floors. The color-rich translucent pigments enrich the grainy texture. It is a semi-transparent, oil-based stain and is suited for indoor furniture as well.
How to Stain Pine Wood?
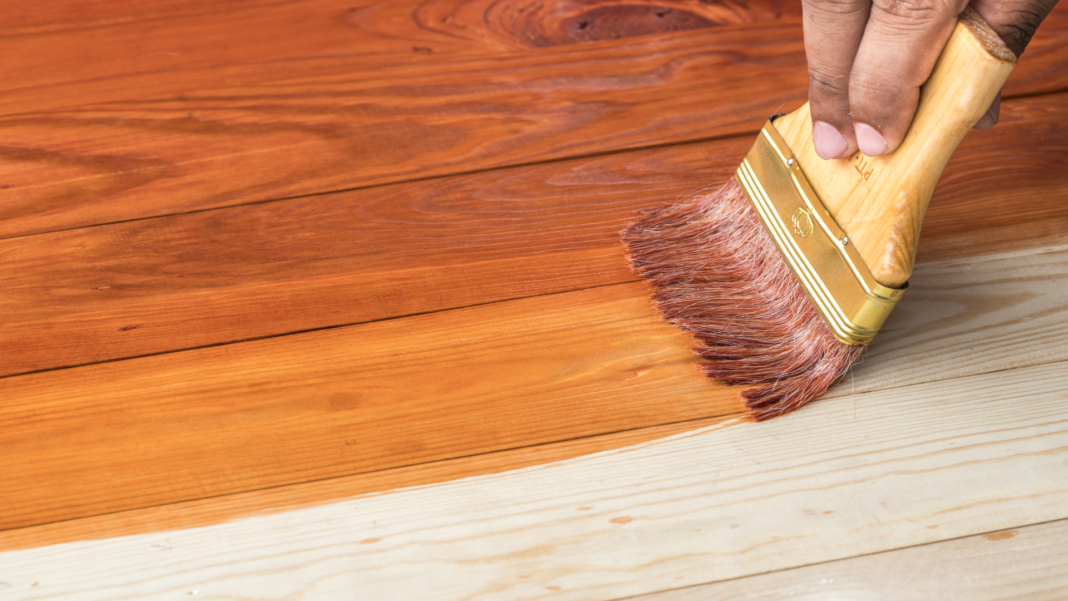
Now that you have everything ready, let’s get started. Since staining pine is a little challenging, understanding how to do it like a pro would be wiser before starting the project.
Follow these steps to transform pine into a luxurious wood.
1. Sanding Wood
Sanding opens up the pores, which allows the stain to set better. Start with medium sandpaper (80-120 grit sandpaper) and finish with a fine grit (220-240 grit sandpaper).
Rub the surface of the wood in wide, circular motions and take your time until the wood has no more raised surface bits or pieces. Clean the wood with a damp sponge and make sure there is no excess water.
- 【PREMIUM MATERIAL】Premium Wet Or Dry Sandpaper Is Constructed with white fused alumina abrasive which is the purest alumina(Alumina powder content 99%), Low heat generation and high grinding efficiency, Fast and long lasting cut with a consistent scratch pattern The abrasive will not discolor the surface you are sanding.
- 【WET AND DRY SANDING】Latex paper backing is waterproof, good flexibility, wear-resistant. Will not easily break and damage during use,the durable backing stands up to the job on wet or dry surfaces, Suitable for dry sanding and wet sanding without switching sandpaper.
- 【ELECTRO COATED TECHNOLOGY】 Electro coated ensures the grit distributed uniformly, anti-static, wear resisting and prevent clogging, Has Maximum Resistance To Clogging and Loading Which Increases Your Productivity and Reduced Material Consumption.
- 【MULTIFUNCTIONAL】Suitable for construction, carpentry, Auto Body Repair project, automotive polishing and home improvement projects, Suitable for wood, metal, plastic, drywall, fibreglass porcelain,art and craft as well as corner cleaning and polishing.
- 【EASY TO IDENTIFY】The grits of the sandpaper are printed on the back for easy identification,Product Size: 9 x 11 inches, Package Including: 12 sheets of 240 medium grit sanding sheets, Can cut it into any smaller size you need easily.
2. Conditioning the Pine
Applying a pre-stain conditioner is the crucial hack to avoiding a blotchy finish. This is a huge step, and trust me; you don’t want to skip it. Use a sponge brush to apply an even coat of conditioner over the wood. Work in a well-ventilated area or use a respirator.
After 15-20 minutes, wipe off the excess conditioner using a dry cloth and leave it to dry for up to 2 hours to ensure the pores don’t close up again.
- Product 1: PROTECT WOOD SURFACES – Minwax Polycrylic Protective Finish protects and adds beauty to your interior wood projects, including woodwork, furniture, doors and cabinets. The clear top coat protects against scratches, spills, dirt and more.
- Product 1: CRYSTAL CLEAR FINISH THAT LASTS – The crystal clear finished offered in this protective coating is ideal for use over all Minwax Oil-Based and Water-Based Stains and colors, as well as all wood species including light woods like maple, ash and birch.
- Product 1: MATTE SHEEN – Give your wood projects a sleek finish with this matte clear varnish. It not only protects the natural beauty of the wood, but offers a soft, unique sheen for a modern, cozy and on-trend look. It’s non-yellowing, non-ambering and low odor.
- Product 1: ULTRA FAST DRYING – Get more done with this protective poly coating. It’s a fast-drying clear coat, which allows for quick recoats after 2 hours, letting you get projects done faster. Be sure to apply with a high-quality synthetic bristle brush.
- Product 2: Item Weight: 2.57 lb
3. Applying Stain
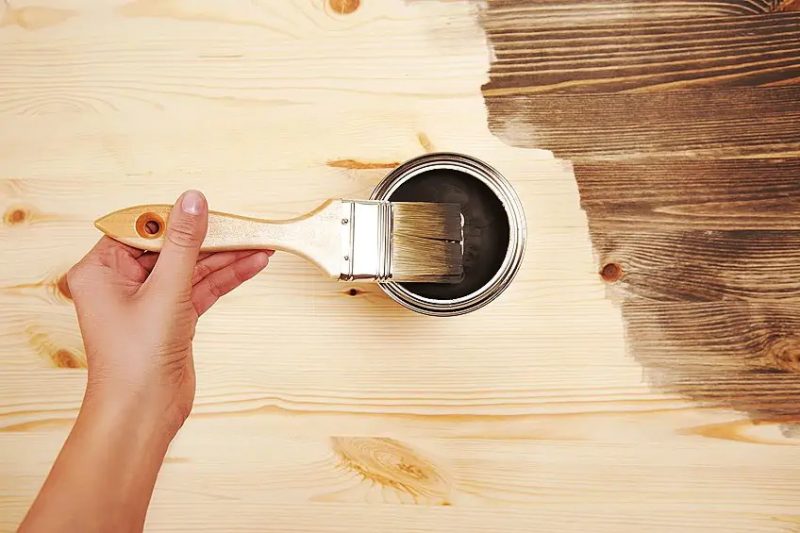
Apply an even and thin coat of stain using a good-quality brush. Move the brush in long back-and-forth strokes or circular motion.
If you want a darker stain, using multiple thin coats is recommended that a single thicker coat of stain. After every coat, wipe off the excess and wait for a couple of hours and wait for 24 hours after a satisfactory final coat.
Gel stain is the best type of stain for pine wood as it gives a more consistent finish. It is the secret to controlling better and even application.
4. Finishing
When it’s time to apply a suitable finish, clean the wood with a dry lint-free cloth, and seal the surface using a clear polyurethane varnish; give it a day to completely dry before applying another coat. Sand the surface with 180-grit sandpaper, but be very gentle not to smudge the finish.
Although staining pine wood can be one big adventure, when the above steps are meticulously followed, astonishing results are promised.
Closing Thoughts
Using the right stain for a pine wood structure can revamp the entire look and add tremendous value to it. And it’s no one-size-fits-all. So evaluate your purpose and assess the design scheme before raiding the marking for the best stain for pine wood.
Hope the blog helped you delve deeper into understanding everything about staining pine and explore the characteristics along with the different types of pine stains. Now you know what to equip yourself with and how to DIY.
Hope the answers to the frequently asked questions resolve all your queries and that you are adept at picking the best stain for pine wood to serve your purpose.
Frequently Asked Question
What Happens if I Put Too Much Stain on Wood?
Excess paint will make it too drippy, thick, and sticky. So always wipe off the excess while the stain is still wet to achieve an even coating. It is advisable to wipe along the direction of the grains for best results.
How Many Coats of Stain Are Needed?
This is purely your decision. The more coats, the darker the stain. Similarly, when the stain is left for a longer duration before wiping, it appears darker. Do a sample testing before you make your decision.
Can Pine Wood Be Stained to Resemble Other Woods?
Absolutely! With the right stains, staining techniques, and layering, you can nail the look you desire to achieve. Saves a lot of dollars when you can make your pine look like oak, doesn’t it?
What Can I Do if My Stained Pinewood Is Too Dark?
If your pinewood turns darker than you desired, gently sand the surface with fine-grit sandpaper. Remove the dust completely before applying a lighter stain. Alternatively, if you just need to tone down a bit, try using a lighter glaze.


