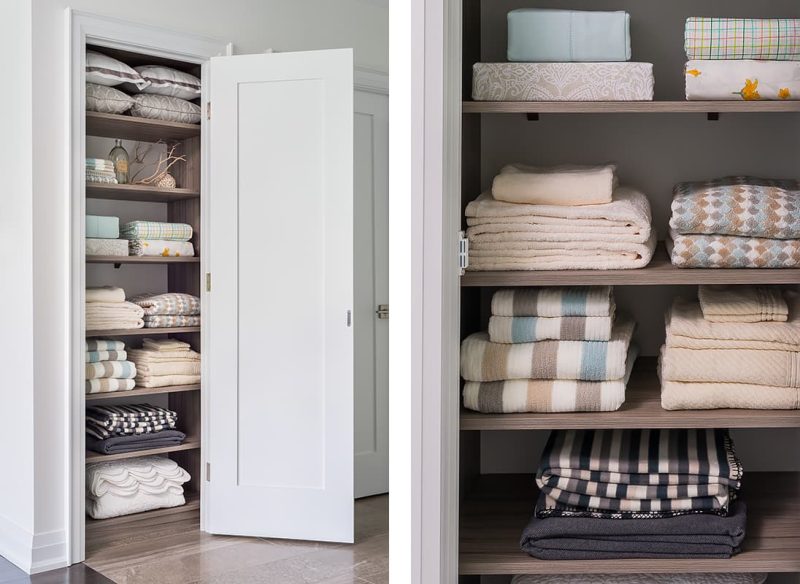
Are you tired of seeing your daily use clothes scattered in different places? And you are unable to get a hold of them? Well, at some point in our lives, we all go through the same. But don’t worry. We have a solution for this unorganized closet and space.
To solve this space problem, linen closet shelves can help you. These shelves cover all your belongings and make your home a good storage place. And they are very easy to build. Whether you are a mom, who wants to fit her child’s clothes, or just a teenager, who wants some more space, this blog is for you.
In this blog, we will take you through a detailed guide to how you can build linen closet shelves from scratch. You can build these shelves by yourself, regardless of whether you have experience. So, without further delay, let’s hop into it.
Steps to Follow When Building Linen Closet Shelves
Planning and Preparation
Before starting building, planning is very important. It helps you understand your needs and work according to your needs. So, here are a few things that you should learn before implementing them.
1. Space Availability
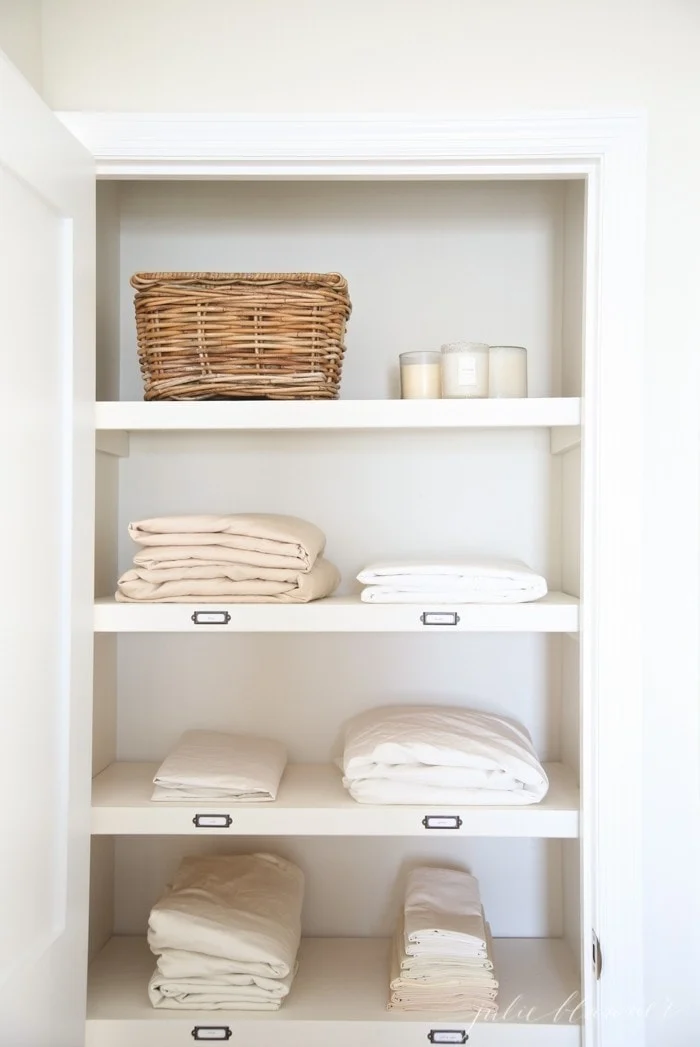
Before heading to your DIY Project ahead, it is important to understand how much space your closet requires; you need to know where you are building it. If there is less space, your clothes won’t fit into it. And it will be all of no use. The ideal size to increase the capacity of your closet are:
- 18 inches for large blankets
- 12-16 inches for towels
- Normal sheets or clothes of 10 inches
You can take the biggest advantage of the linen closet by making it vertical. Always make sure that the vertical space is sufficient enough to build linen closet shelves. This will provide flexibility to the closet. It will also be convenient to build even beside the doorframe.
2. Dimensions and Quantity
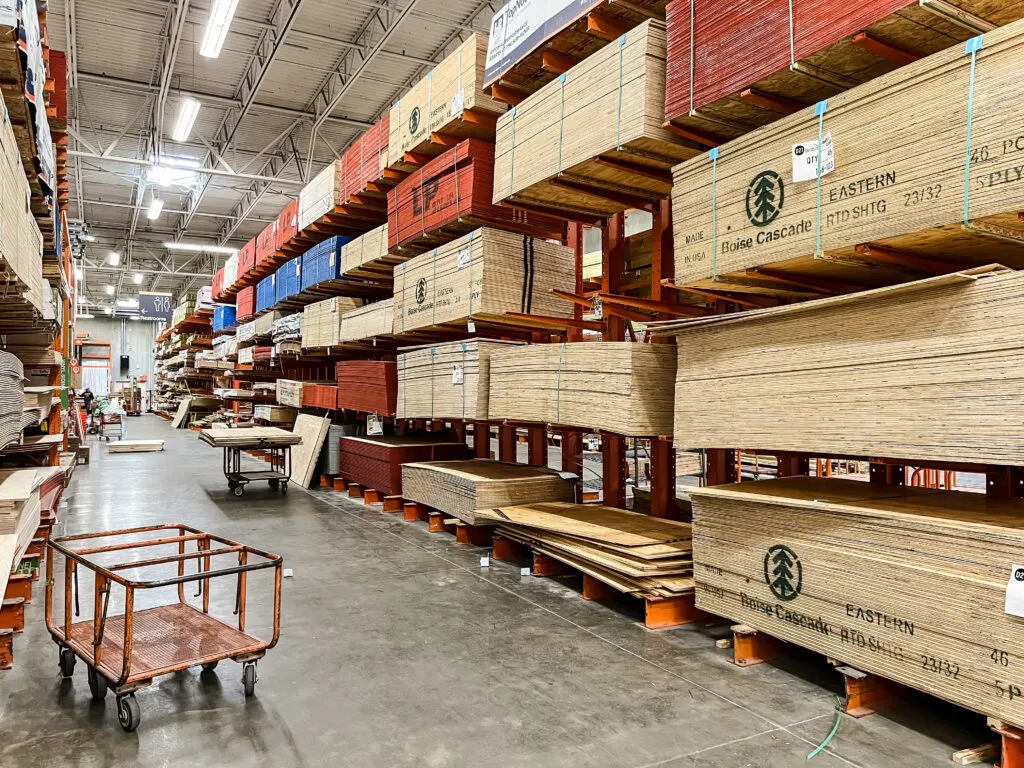
The dimensions of the closet are very important to find. Once you figure out the space, you should focus on the dimensions. In this step, you make sure how much height you want for your closet. Decide the purpose of the closet and design the dimensions of the closet accordingly.
3. Layout
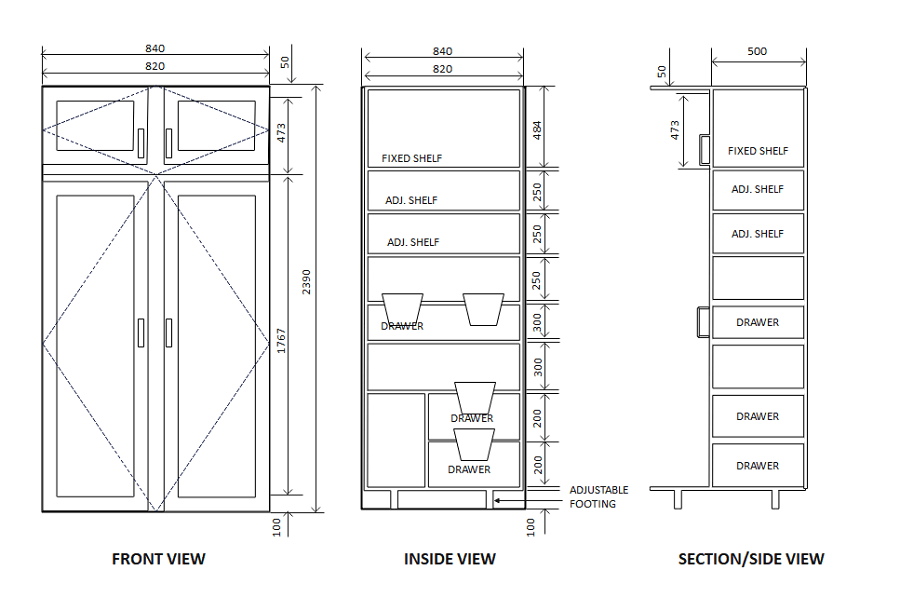
After the task of dimensions is done, it’s time to design the layout. This layout will be a rough design for your better understanding. Pick a piece of paper and a pen and draw a design. This layout must include the following:
- The number of shelves do you want?
- What should be the height of every shelve? You can also customize the size of the shelves to make it appropriate for yourself.
- What should be the color of the closet?
- How do you want to decorate it?
This will help you to bring life to your imagination. The layout will also help you to clarify your goals and the need for the closet.
4. Measurements
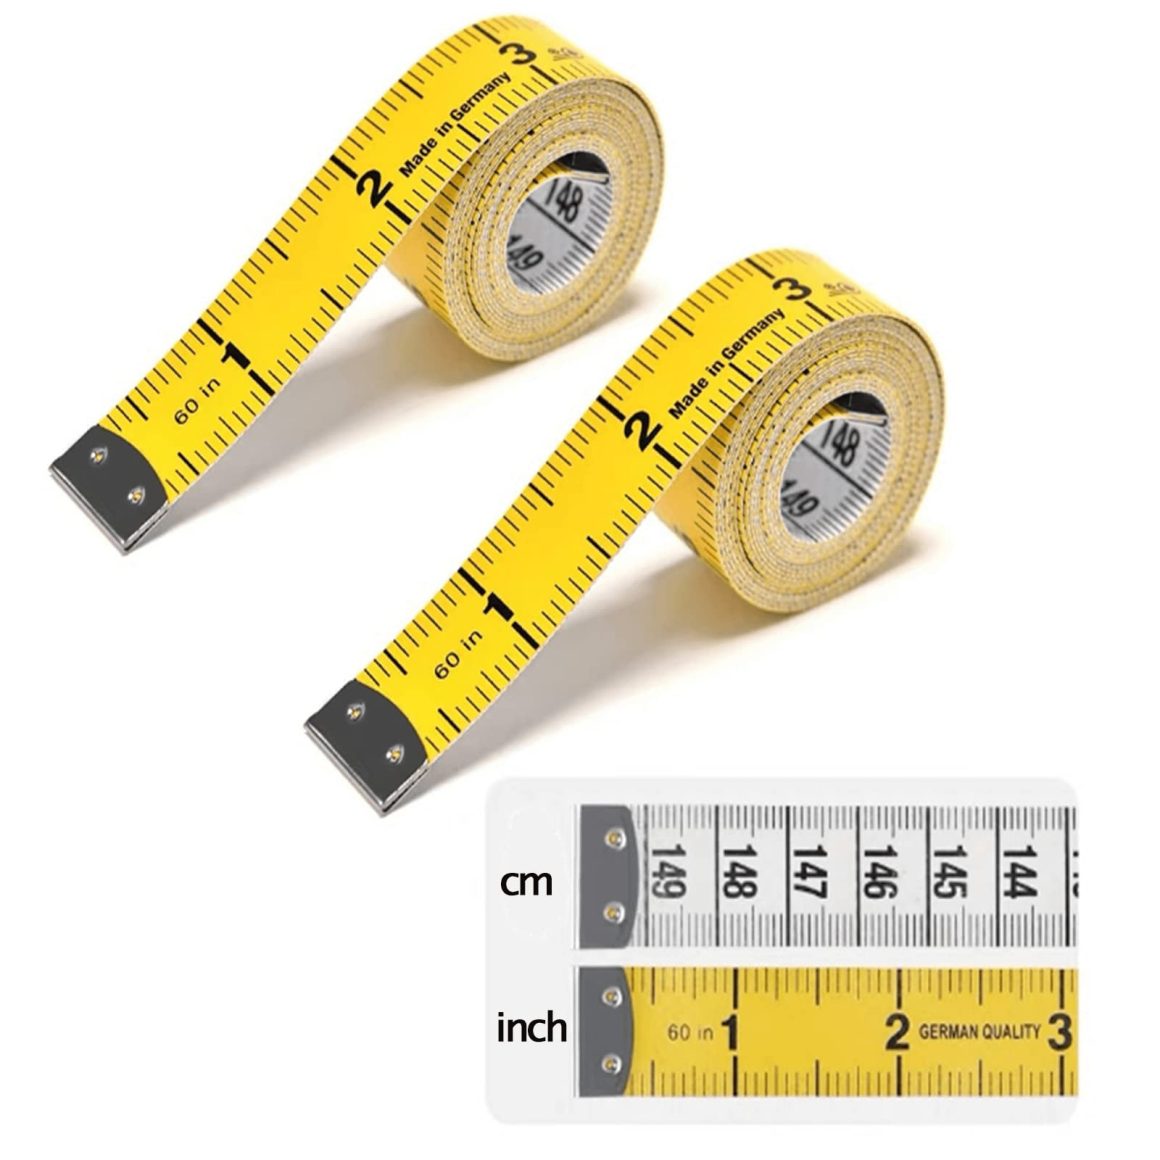
Once you make a rough layout of the closet, take the measurements of the closet. Make sure how much deep you need your linen closet shelves to be. The depth of the shelves should depend on the items that you want to store in them. It should not be too deep, or it won’t fit. You can ensure the closet’s depth by the clothes you will store.
Furthermore, you should do the measurement between the closet and the shelves. The usual space of the shelves should be 12 inches, and the board thickness should be ¾ inches. Then the depth of the shelves should be 12¾ inches.
Gathering Materials
As you understand the purpose of the closet and design a rough layout, gather all the materials that might be required to build the closet. In order to make a closet, you will require various tools and hardware. Go to the store and grab these materials. Here are a few things that you need to take in order to make linen closet shelves.
1. Wood
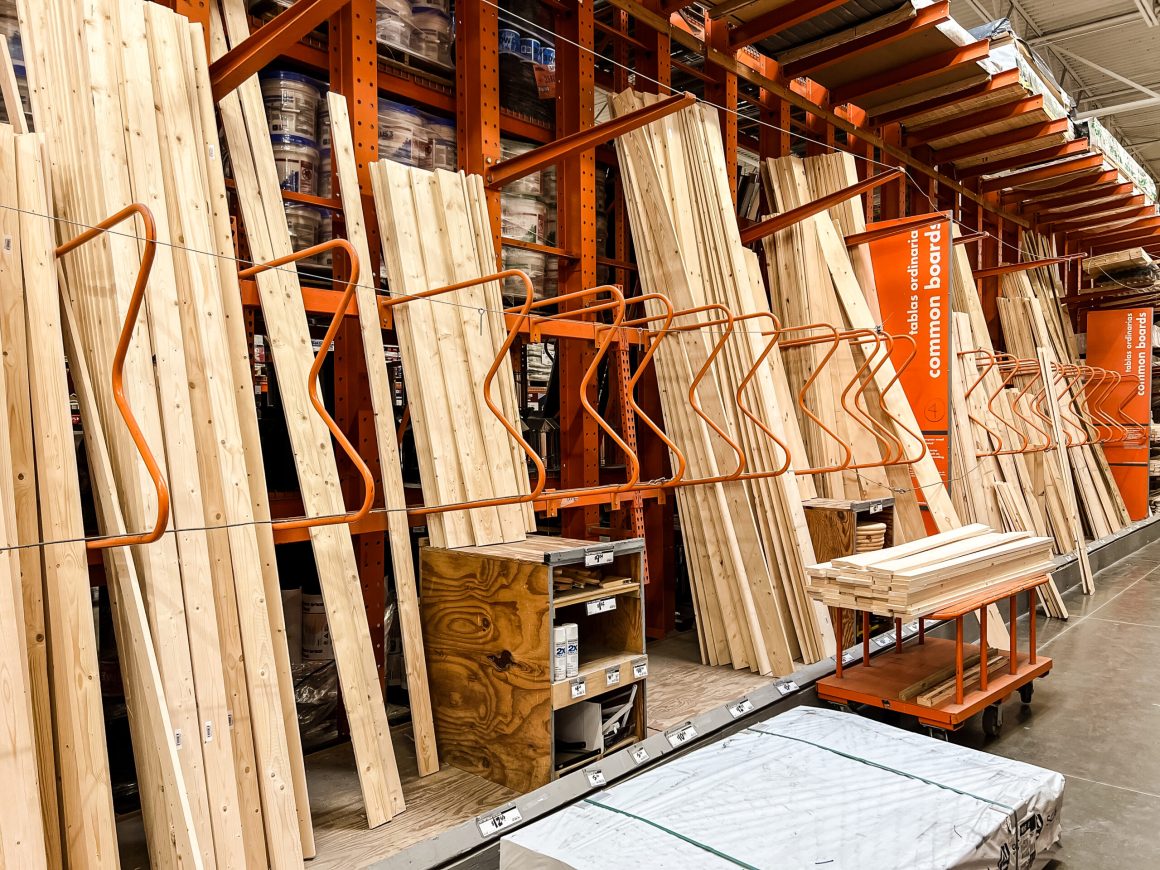
The quality of wood matters a lot in the process of building linen closet shelves. The quality of the wood ensures your clothes are good. If you use low-quality wood, then there will be chances of scratches on your clothes.
Before buying the wood, decide on the thickness of it. If you want to make a big closet, then make sure that the wood is thick. Different woods are suitable for linen closet shelves.
Plywood is one of the best woods used for making closet shelves. The reason behind this is the versatility of the wood. Plywood is versatile and resistant, which makes it very strong. However, there are other woods like cherry wood and particle wood. You can buy wood from any online store or any nearby store.
2. Materials and Tools
In the process of making linen closet shelves, you will need various tools and materials like measuring tape, screwdriver, brackets, etc. Make sure that the tools you use are of good quality. Be cautious while using these tools; there are chances to get hurt. Here’s a list of all the materials that you will need:
Other essential materials include:
The tools that you use while building a linen closet should be good. The strength of the shelves depends on the quality of the screws. The bracket should provide good support to the shelves. Else there are chances of damage to the shelves.
Steps to Build Linen Closet Shelves
Now once you are ready with stacking all the essential elements, it is time to use the tools and implement the plan. The closet is built by following these steps:
Step 1: Find the Place
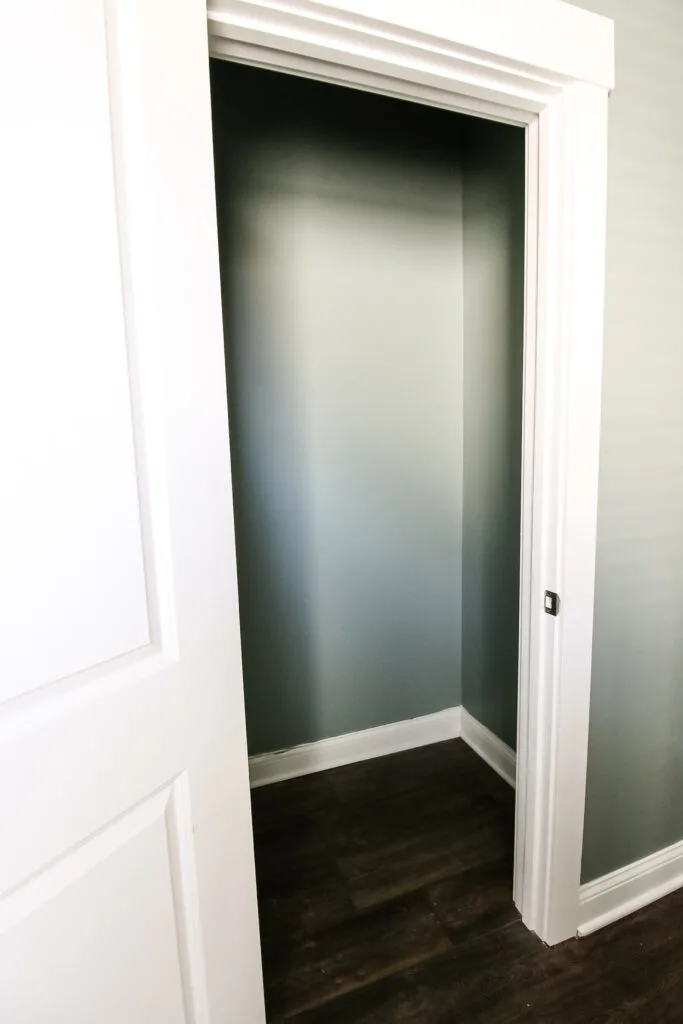
If you have an existing closet, then put the old things out. Then pull the shelves out and remove them. There might be wirings or scratchy corners. Clean it all. Once you clean and remove everything, patch the existing holes with a spackle. Then let it all dry and make it smooth.
Step 2: Paint
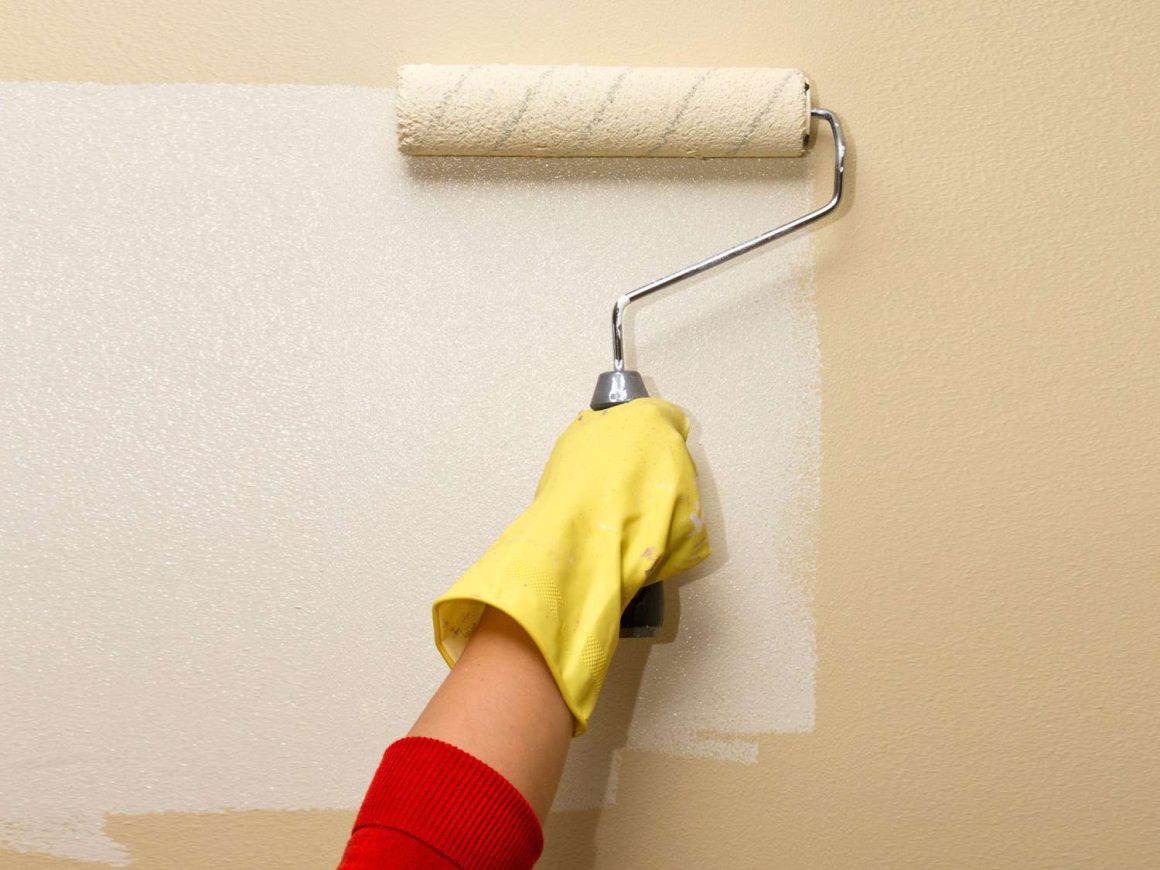
Now the place is empty and clean. Paint it as you want. You can choose any color your want. Combine the color with other rooms, or you can also give it a funky look if you want. As you paint the space, let it dry. And decorate it if you like.
Step 3: Measure

After painting the space, it’s time to measure the width, height, and depth of the shelves. Use the planned measurements. Make sure that there are no changes in the measurements during implementation. Or it will ruin the design of the shelves. And increases the work.
Step 4: Shelves
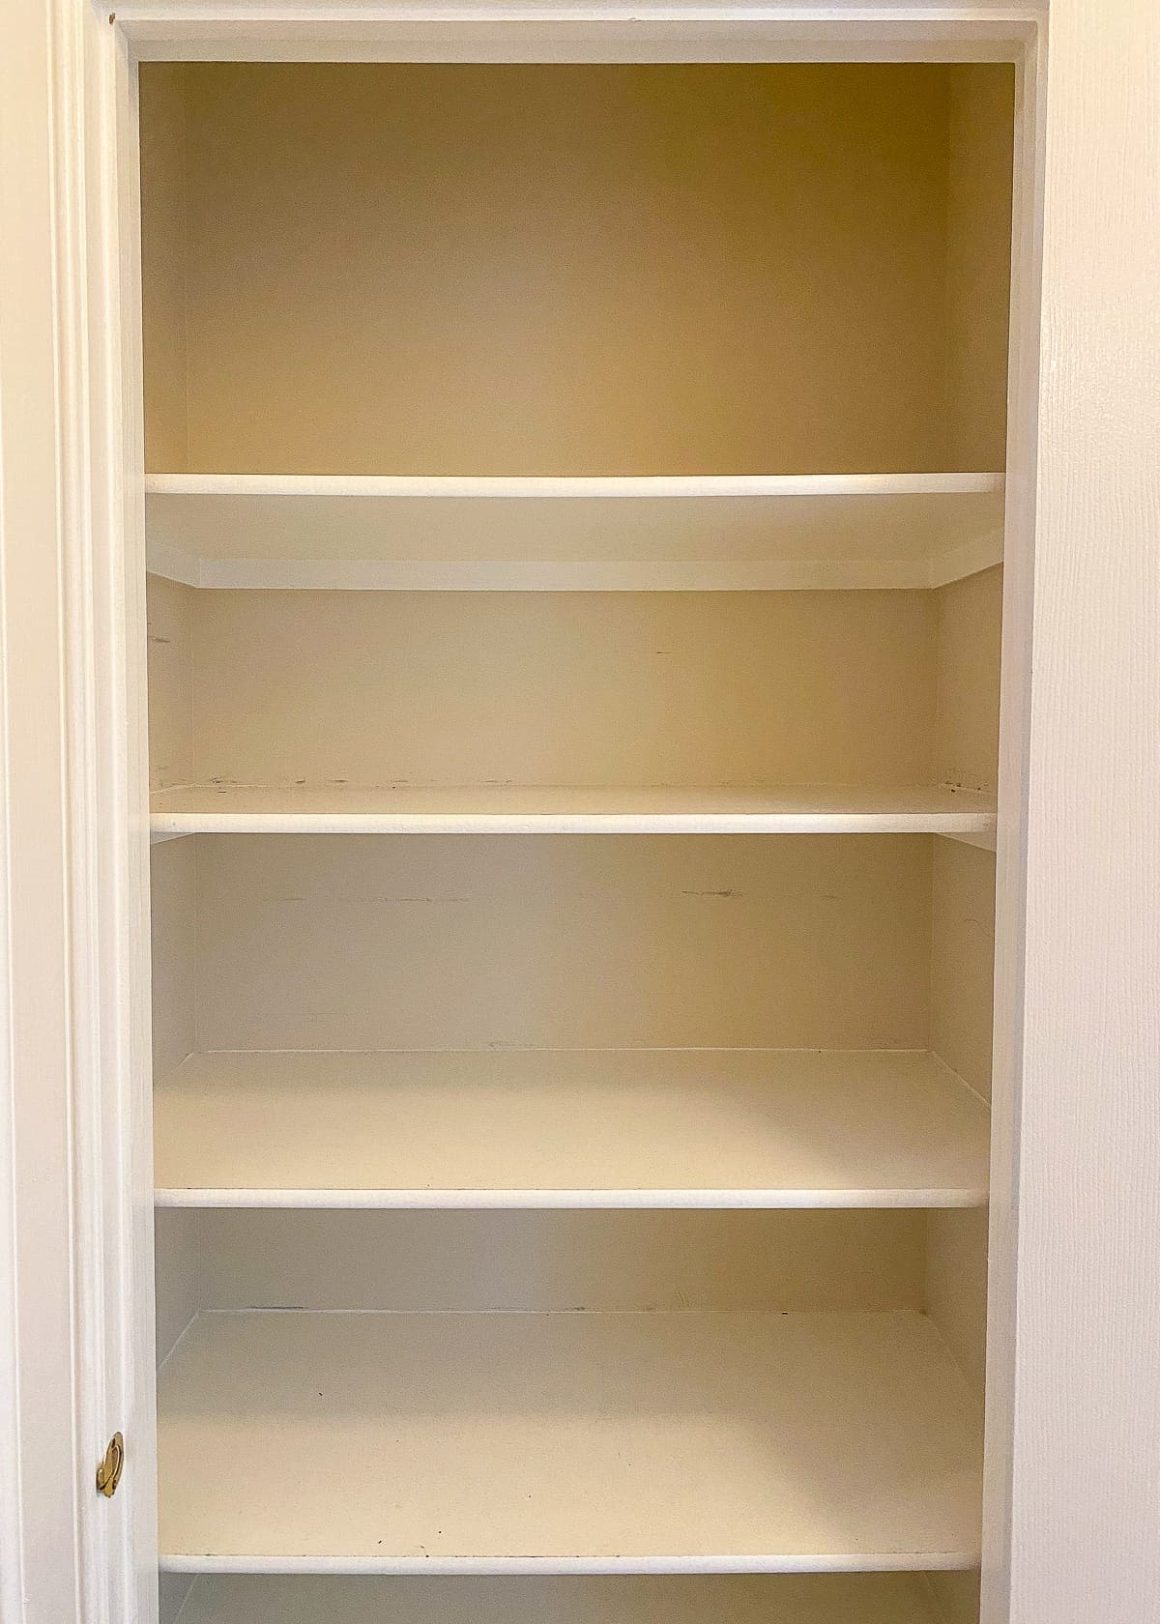
As you measure it, decide the number of shelves. And draw the marks with the help of a pencil. In this step, you need to focus on the number and size of the shelves. Pile up the shelves beforehand and then fit them in the right position.
Step 5: Cut and Paint the Boards
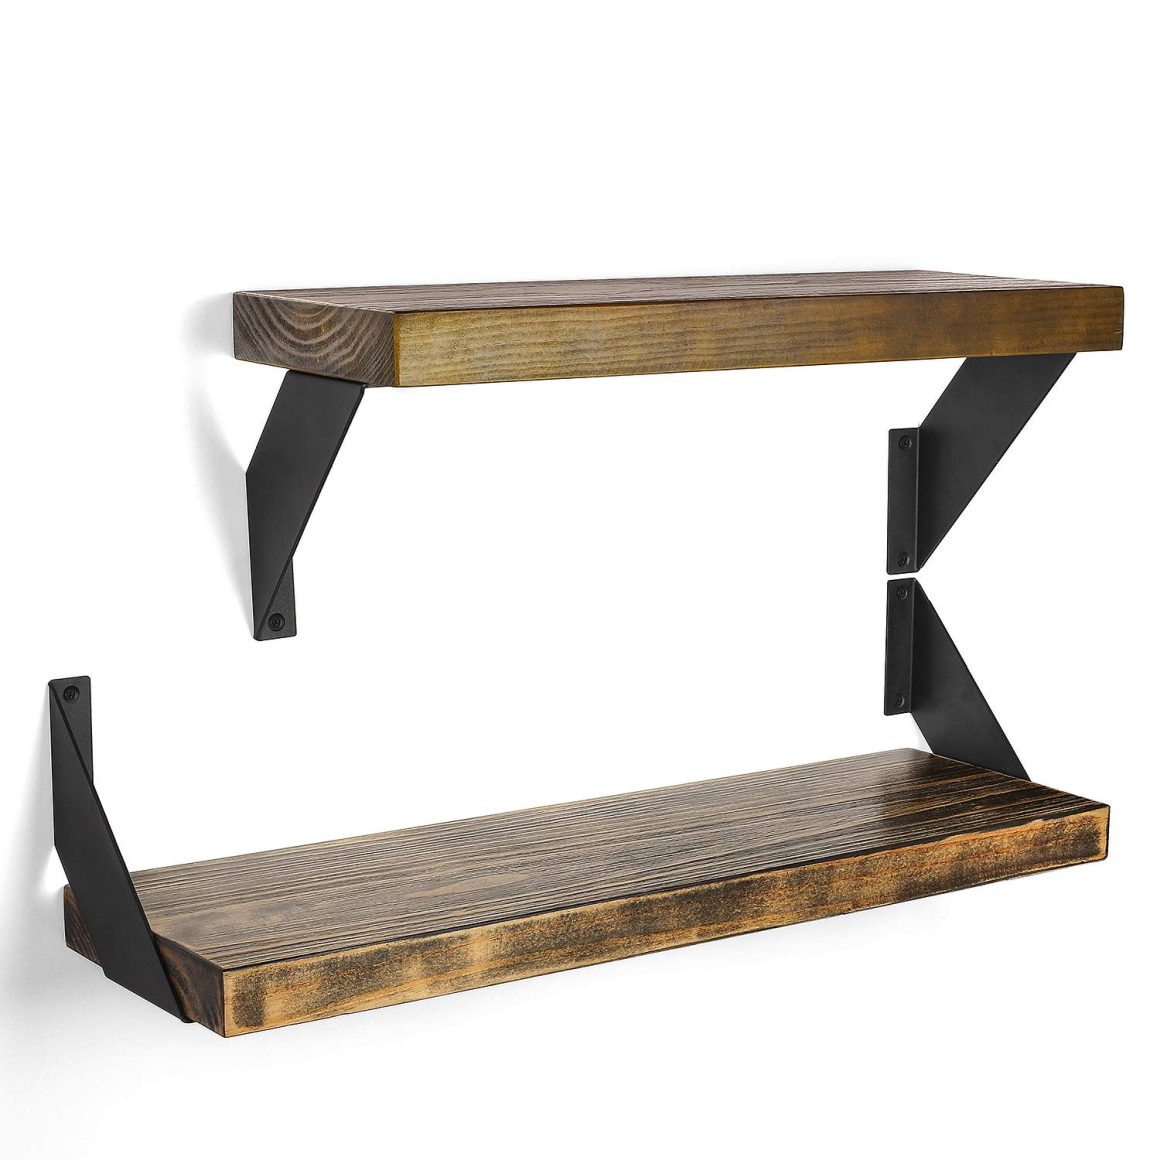
It is now time to cut the boards according to the measurements. Cut them wisely, and also make sure that there are no cutting edges. Remember, if you want to store lightweight clothes and sheets, then the boards can be thin. But if you want to store high-wight things, then make sure that the boards are thick enough to handle the weight.
To provide the finishing touch to the boards, you will need to paint them. It will also provide extra safety to your clothes. But make sure that the paint is dried and is not losing its color. Or it may ruin the clothes.
Step 7: Install Brackets and Shelf Boards
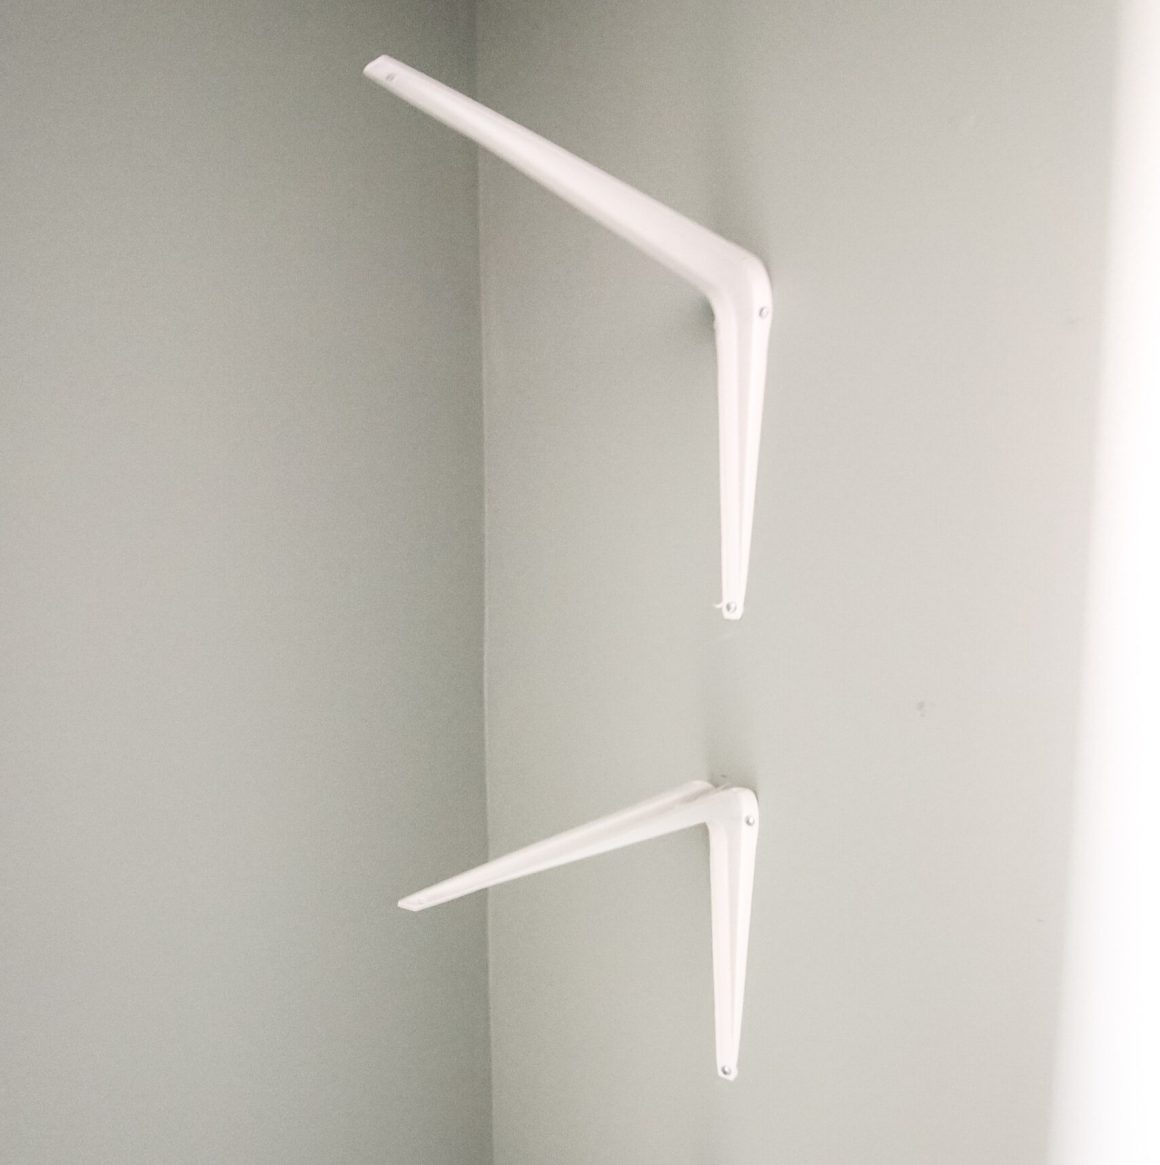
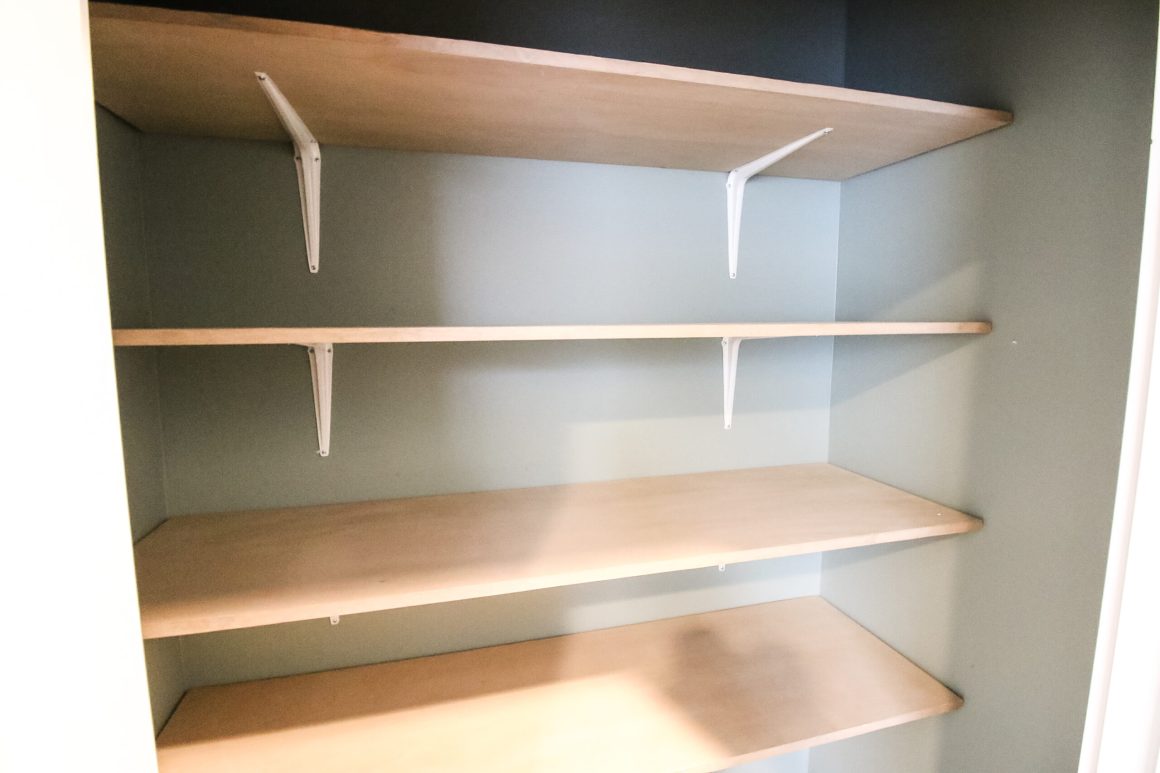
Now install the brackets in the space. Use a pencil to draw the marks on the wall. Ensure that you install the brackets very carefully. To determine the preferred height of the lower shelf, understand the type of clothes you put into it.
Carefully connect the shelf brackets to the wall brackets. Then install the shelf boards on the brackets. Make sure that they are fit to the wall. There should be even space between each shelf. Then screw the shelf from underneath the shelf brackets.
Step 9: Organize the Shelves
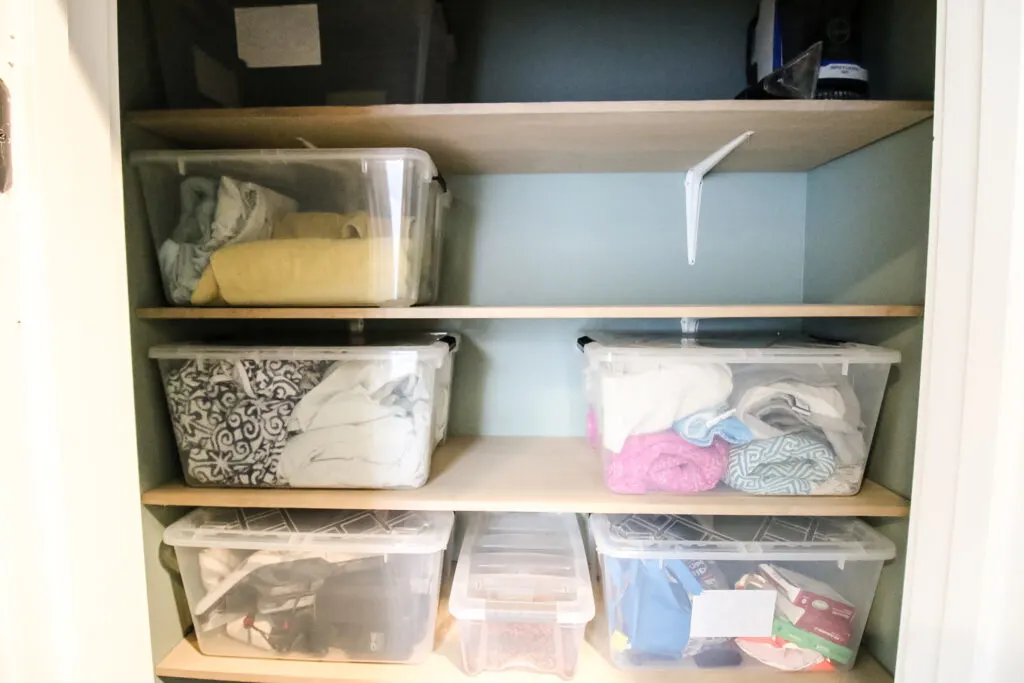
Your linen closet shelves are ready. Store your things in it and organize them as you want. You can organize it in different ways. You can store heavy-weight items on the lowest shelf and light-weight in others.
Conclusion
Building linen closet shelves can be rewarding and help you to organize your room without any hassle. With its high storage, there won’t be any clutter in your house.
All you need to do is start building linen closet shelves and enjoy the extra space. After building these closet shelves, make sure that you sort them and categorize the space according to your cluttered clothes.
And remember to label the shelves. This helps you reduce your time in searching and also makes them more neat. If you are tired of using old and regular linen closet shelves, then you can make them more aesthetic, classic, or that pleases your mind. It is time to find your belonging quickly and efficiently.
So maintain this clutter-free space and organize your DIY project.


